“You’ve gotta try these paletas!” my friend Maria insisted one humid afternoon, waving a colorful popsicle in my direction. I was skeptical — coconut and lime together? Honestly, I usually stuck to plain fruit popsicles, figuring the simpler the better. But the creamy coconut lime paletas she handed me were a revelation. The first lick hit me with cool tropical sweetness, then a zesty lime brightness that made me pause and smile. It was like summer in a popsicle: refreshing, indulgent, and just a little unexpected. Those paletas quickly became my go-to treat for those sticky, slow afternoons when the last thing you want is anything heavy or complicated. I’d find myself making them multiple times a week, tweaking the lime just so or adding a pinch of salt to bring out the flavors. They’re simple, but honestly, they feel special — the kind of recipe that sticks around because it’s easy to love and even easier to share.
That summer, between juggling work and trying to keep my kitchen cool, these creamy coconut lime paletas were a little oasis. They reminded me how sometimes the best recipes come from friends nudging you out of your comfort zone — and how a simple homemade treat can brighten the quietest moments.
Why You’ll Love This Recipe
Making these creamy coconut lime paletas at home isn’t just about having a cool treat — it’s about creating a little slice of joy that’s both satisfying and uncomplicated. After testing this recipe on friends and family (who, by the way, ask for it again every time), I can say it reliably hits that sweet spot between creamy and refreshing. Here’s why it’s worth your time:
- Quick & Easy: From start to freezer, it takes less than 10 minutes to mix — perfect for those last-minute cravings or a weekend pick-me-up.
- Simple Ingredients: You likely already have the staples in your kitchen: canned coconut milk, fresh lime juice, and a touch of sugar. No grocery store run needed.
- Perfect for Warm Weather: Ideal for pool parties, picnics, or an afternoon break when you want something to cool you down but still feel a bit indulgent.
- Crowd-Pleaser: Kids, adults, and even those who don’t usually go for sweets love the balance of creamy coconut and tangy lime.
- Unbelievably Delicious: The texture is smooth and creamy — thanks to the coconut milk — but not heavy. And the lime cuts through just enough to keep it bright and clean.
What sets this recipe apart? It’s the subtle layering of flavors and the method. Instead of just mixing juice and milk, we gently blend the ingredients so the paletas freeze with a silky texture that’s not icy or grainy. Plus, a pinch of sea salt rounds off the flavor beautifully, giving you that authentic Mexican paleta experience without fuss.
If you’re looking for a popsicle recipe that’s both nostalgic and fresh, comforting and exciting, this one’s a keeper. Honestly, it’s the kind of treat that makes you pause, close your eyes, and just savor that perfect bite.
What Ingredients You Will Need
This recipe uses simple, wholesome ingredients to deliver bold flavor and satisfying texture without the fuss. It’s all about balance — creamy coconut milk, zesty lime, just enough sweetness, and a hint of salt to make everything pop.
- Full-fat canned coconut milk (1 ½ cups / 360 ml) – This is your base for the creaminess. I prefer Chaokoh brand for its rich texture but any good quality canned coconut milk works well.
- Fresh lime juice (½ cup / 120 ml) – Freshly squeezed is key here. The brightness of fresh lime juice makes all the difference.
- Lime zest (1 teaspoon) – Adds a burst of citrus aroma that complements the juice perfectly.
- Granulated sugar (⅓ cup / 65 grams) – Balances the tartness. You can swap with honey or agave syrup for a natural touch, but the texture might vary slightly.
- Pinch of sea salt – Don’t skip this! It enhances all the flavors, making the paletas taste more vibrant.
- Vanilla extract (optional, ½ teaspoon) – Adds warmth and depth, but it’s totally fine to leave out if you prefer the pure coconut-lime vibe.
Substitutions and tips:
- If you want a lighter version, swap half the coconut milk with coconut water or almond milk, but note the texture will be less creamy.
- For a dairy-free and vegan treat, this recipe already fits the bill perfectly.
- In summer, I sometimes toss in a few fresh mint leaves during blending for a fresh twist — it’s amazing!
Equipment Needed
- Blender or food processor: Essential for blending the coconut milk and lime juice into a smooth, creamy mixture. I use a simple countertop blender; no fancy gadgets needed.
- Paleta molds or popsicle molds: You can find these online or at kitchen stores. If you don’t have molds, small paper cups and wooden sticks work just fine as a budget-friendly alternative.
- Measuring cups and spoons: For accuracy, especially when balancing sugar and lime juice.
- Small whisk or fork: Helpful for stirring sugar into the liquid before blending.
Pro tip: If you use metal molds, remember to let the paletas sit at room temperature for 5 minutes before unmolding to avoid breakage. Silicone molds are easier to pop out but can be a bit pricier. I’ve found plastic molds to be a happy medium — sturdy and affordable.
Preparation Method
- Mix sugar and lime juice: In a medium bowl, combine the fresh lime juice and granulated sugar. Stir with a whisk or fork until the sugar dissolves completely, about 2-3 minutes. This step prevents grainy sugar bits in your paletas and ensures even sweetness.
- Blend the base: Pour the sugar-lime mixture into your blender. Add the canned coconut milk, lime zest, a pinch of sea salt, and vanilla extract if using. Blend on medium speed for 30-45 seconds until the mixture is fully combined and smooth. You want a creamy texture without any lumps.
- Taste and adjust: Give the mixture a quick taste. If you want it zestier, add a little more lime juice or zest. If it’s too tart, whisk in a bit more sugar. Remember, the flavors will mellow slightly after freezing.
- Pour into molds: Carefully pour the mixture into your paleta molds, leaving a small gap at the top for expansion during freezing. Insert the sticks.
- Freeze: Place the molds in the freezer upright. Freeze for at least 6 hours or overnight until completely solid.
- Unmold and enjoy: To remove the paletas, run warm water over the outside of the molds for 10-15 seconds. Gently pull the sticks to release. Serve immediately for the best creamy texture.
This process is straightforward but paying attention to the sugar dissolving and blending steps makes all the difference. A quick note: if your paletas turn out icy, it usually means the sugar wasn’t fully dissolved or the coconut milk was too thin. Using full-fat canned coconut milk and fresh lime juice is key for that perfect creamy finish.
Cooking Tips & Techniques
Making creamy coconut lime paletas is pretty forgiving, but here are some tips I’ve picked up after a few trial runs (and a few icy disappointments):
- Use full-fat canned coconut milk: It really affects the creaminess. Light coconut milk or coconut milk beverage won’t give you the same texture.
- Dissolve sugar completely: Stirring sugar into the lime juice before blending helps avoid grainy texture. If you’re in a rush, use superfine sugar — it dissolves quicker.
- Test your freezing time: Depending on your freezer, it may take longer than 6 hours. I usually let mine freeze overnight for the best results.
- Don’t skip the pinch of salt: It’s a game-changer for flavor balance. Without it, the sweetness feels flat.
- Multitask while freezing: While your paletas chill, it’s a great time to prep a quick dinner like this one-pot salmon with quinoa. By the time dinner’s done, your popsicles will be ready for dessert!
Also, if you want to get creative, try swirling in a bit of raspberry puree or chopped fresh mango before freezing — just be mindful not to overfill your molds.
Variations & Adaptations
This base recipe is wonderfully versatile, and you can easily tweak it to suit different tastes or dietary needs.
- Mint Lime Paletas: Add ¼ cup of fresh mint leaves while blending for a refreshing herbal note. Great for summer gatherings.
- Dairy-Free Chocolate Coconut Paletas: Add 2 tablespoons of unsweetened cocoa powder to the mixture for a tropical chocolate twist — a kid favorite!
- Low-Sugar Version: Reduce sugar by half and add a splash of agave or stevia to taste. The lime’s natural tartness helps keep it balanced.
- Frozen Fruit Add-ins: Mix in small chunks of fresh pineapple or mango for a fruity surprise inside each paleta.
Personally, I once tried a version with a splash of tequila and a pinch of chili powder for a cheeky adult treat — the creamy coconut and lime with a little kick made for a fun twist at a backyard party.
Serving & Storage Suggestions
These paletas are best served straight from the freezer for that perfect creamy, icy balance. They make a fantastic cooling treat on a hot afternoon or a light dessert after a spicy meal.
Serve them in colorful bowls or glasses to add a festive touch. Pairing with fresh fruit salad or a light Mexican-inspired snack balances out the sweetness nicely.
Storage is simple: keep them in their molds or transfer to a freezer-safe container with parchment paper between layers to avoid sticking. They’ll keep well for up to 2 weeks.
To re-enjoy after storage, just let them sit at room temperature for a couple minutes before eating — this softens the texture slightly without losing creaminess.
Flavors actually deepen a bit after a day or two in the freezer, so if you want a more intense lime hit, try making them a day ahead.
Nutritional Information & Benefits
These creamy coconut lime paletas deliver around 90-110 calories each, depending on the size of your molds. The coconut milk provides healthy fats that help keep you satisfied, while lime juice contributes vitamin C and a refreshing zing.
Because this recipe is naturally dairy-free and gluten-free, it fits well into many diets. Just watch the sugar if you’re managing intake, and consider natural sweeteners if preferred.
From a wellness perspective, the combination of coconut and lime feels light but nourishing — perfect for a snack that’s both cooling and a little indulgent without weighing you down.
Conclusion
These creamy coconut lime paletas are a wonderful treat that’s easy to make, delightful to eat, and surprisingly versatile. Whether you’re cooling off after a day in the sun or just craving a sweet, tangy snack, this recipe hits all the right notes.
Feel free to experiment with flavors and textures — that’s part of the fun! I love how these paletas bring a little bit of Mexican tradition into my kitchen with minimal effort but maximum flavor. They’ve become a staple, especially when I want something refreshing but not overly sweet.
If you try the recipe, I’d love to hear how you customize it. Sharing recipes and ideas is what makes cooking so enjoyable, after all. Here’s to many sunny days and creamy, zesty paletas!
FAQs About Creamy Coconut Lime Paletas
Can I use light coconut milk instead of full-fat?
Light coconut milk won’t give you the same creamy texture and might result in icy paletas. Full-fat canned coconut milk is best for that smooth, rich mouthfeel.
How long do these paletas last in the freezer?
They keep well for up to 2 weeks. After that, texture and flavor might start to decline.
Can I make these without sugar?
You can reduce or omit sugar, but the paletas will be more tart and less balanced. Using a natural sweetener like honey or agave works nicely as an alternative.
What if I don’t have paleta molds?
Small paper cups and wooden popsicle sticks make a great substitute and are easy to find at most stores.
Can I add alcohol to these paletas?
Yes! Adding a splash of tequila or rum can make a fun adult version, but keep in mind alcohol lowers the freezing point, so they may freeze softer.
Pin This Recipe!
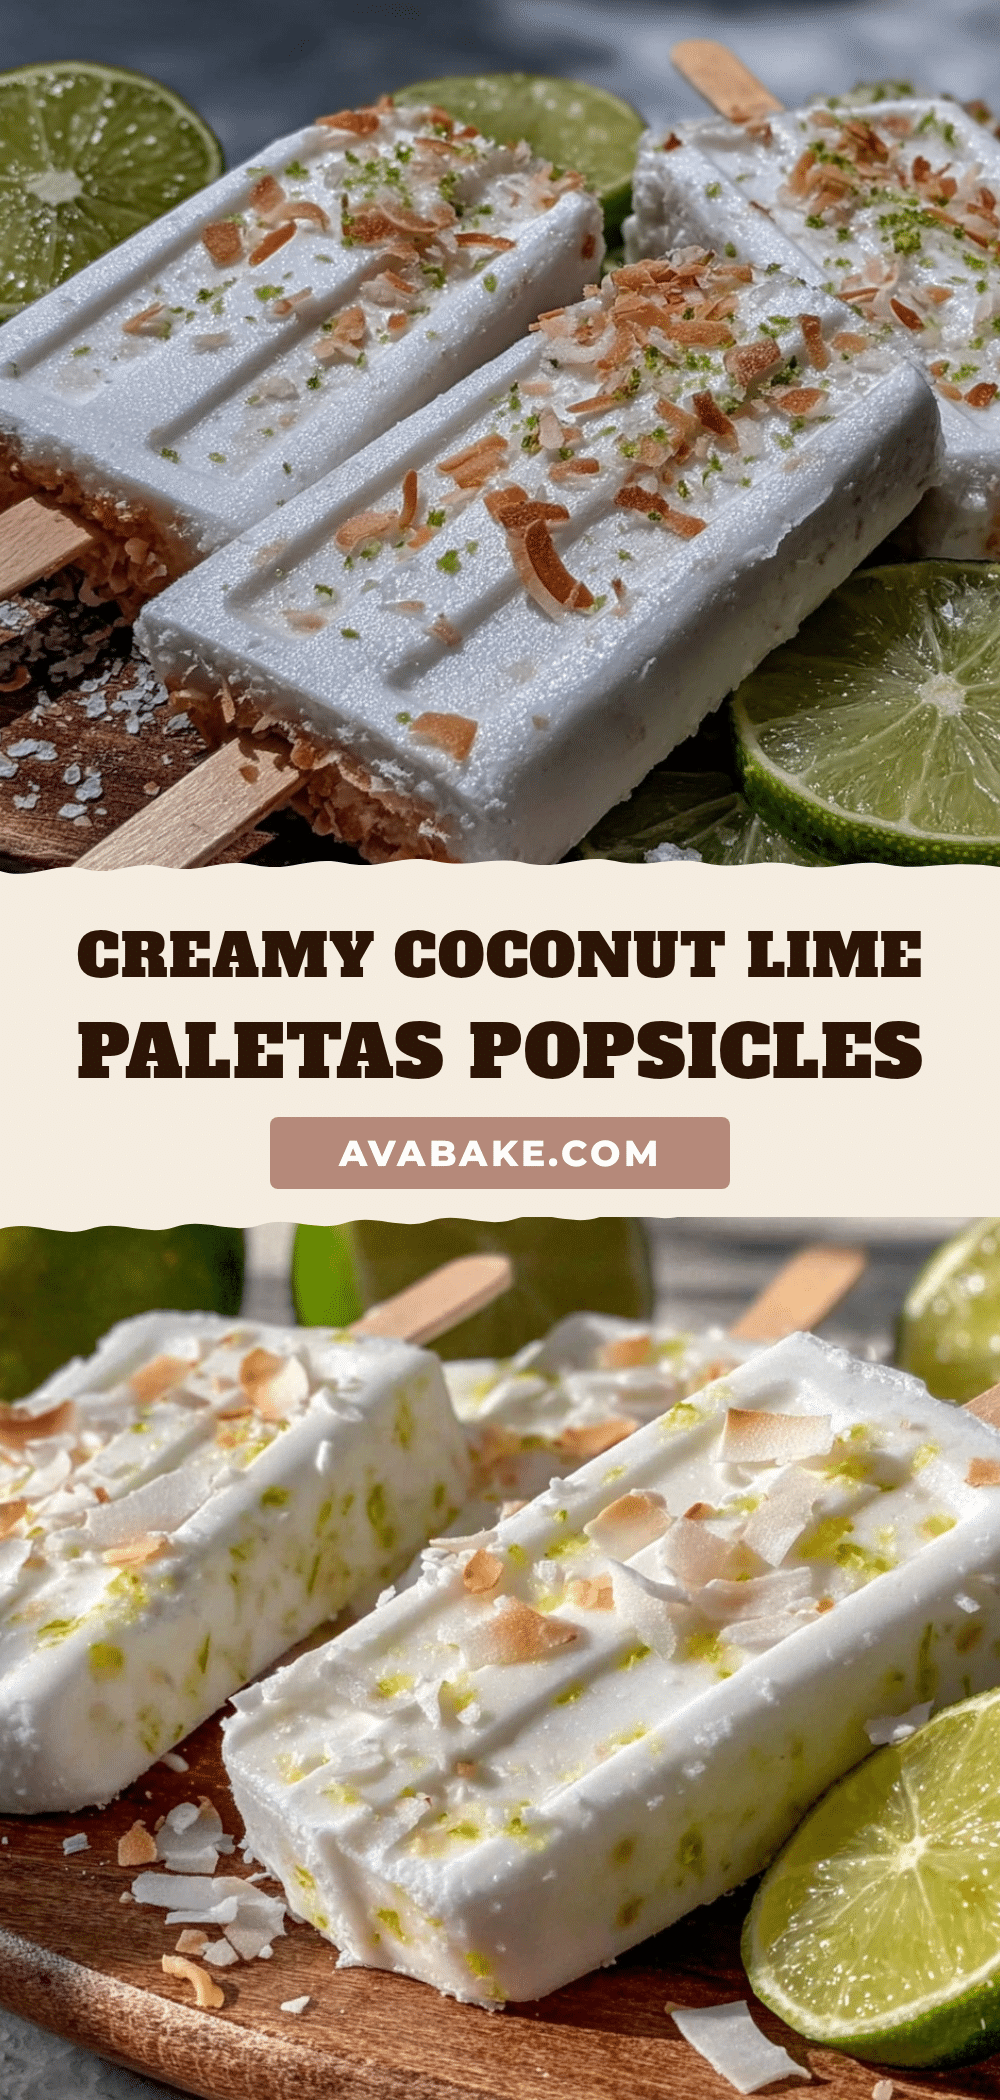
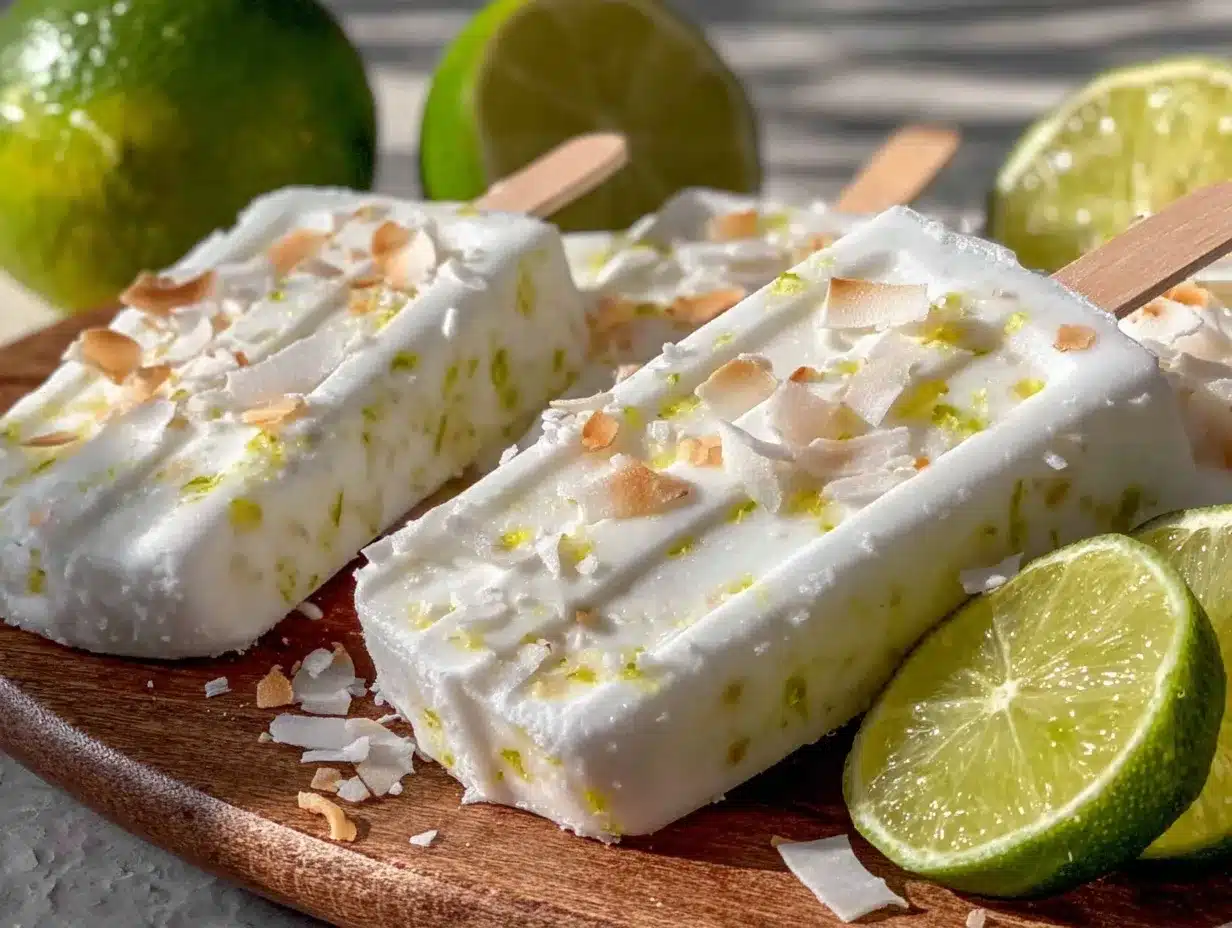
Creamy Coconut Lime Paletas
These creamy coconut lime paletas are easy homemade Mexican popsicles that combine tropical sweetness with zesty lime for a refreshing and indulgent treat perfect for warm weather.
- Prep Time: 5 minutes
- Cook Time: 6 hours (freezing time)
- Total Time: 6 hours 5 minutes
- Yield: 6 servings 1x
- Category: Dessert
- Cuisine: Mexican
Ingredients
- 1 ½ cups (360 ml) full-fat canned coconut milk
- ½ cup (120 ml) fresh lime juice
- 1 teaspoon lime zest
- ⅓ cup (65 grams) granulated sugar
- Pinch of sea salt
- ½ teaspoon vanilla extract (optional)
Instructions
- In a medium bowl, combine the fresh lime juice and granulated sugar. Stir with a whisk or fork until the sugar dissolves completely, about 2-3 minutes.
- Pour the sugar-lime mixture into a blender. Add the canned coconut milk, lime zest, a pinch of sea salt, and vanilla extract if using.
- Blend on medium speed for 30-45 seconds until the mixture is fully combined and smooth.
- Taste and adjust the mixture by adding more lime juice or zest for zestiness, or more sugar if too tart.
- Carefully pour the mixture into paleta molds, leaving a small gap at the top for expansion. Insert sticks.
- Freeze the molds upright for at least 6 hours or overnight until completely solid.
- To unmold, run warm water over the outside of the molds for 10-15 seconds and gently pull the sticks to release. Serve immediately.
Notes
Use full-fat canned coconut milk for best creaminess. Dissolve sugar completely in lime juice before blending to avoid grainy texture. Let paletas freeze overnight for best results. Run warm water on molds before unmolding to prevent breakage. Optional vanilla extract adds depth but can be omitted. For a lighter version, substitute half the coconut milk with coconut water or almond milk, but texture will be less creamy.
Nutrition
- Serving Size: 1 paleta (approximat
- Calories: 90110
- Sugar: 9
- Sodium: 30
- Fat: 7
- Saturated Fat: 6
- Carbohydrates: 10
- Fiber: 0.5
- Protein: 1
Keywords: paletas, coconut lime popsicles, Mexican popsicles, creamy paletas, homemade popsicles, coconut milk, lime juice, summer treats


