Introduction
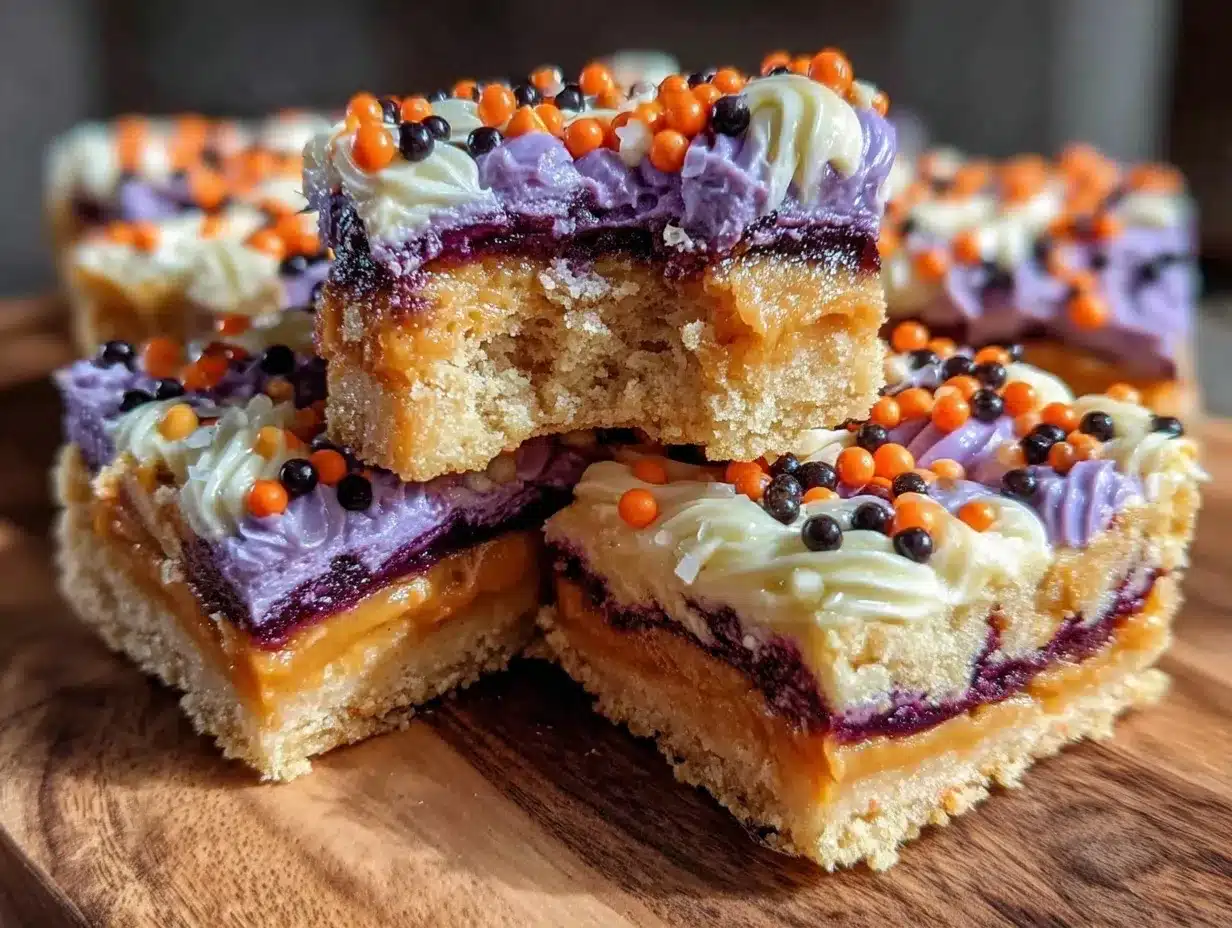
Picture this: the comforting aroma of buttery sugar cookies baking in your oven, mingling with the sweet scent of vanilla. It’s a chilly October evening, and you’re ready to create something festive, fun, and frightfully delicious. These Spooky Halloween Sugar Cookie Bars are like the ultimate mashup of a classic sugar cookie and the convenience of a cookie bar—all dressed up for the season.
The first time I made these, it was for a Halloween party with my kids and their friends. I wanted something that was easy to whip up but also had that “wow” factor. Let me tell you, when I pulled these colorful, sprinkle-covered beauties out of the oven, the kids practically stampeded to the kitchen. It was one of those moments where you realize you’ve hit the jackpot—a recipe that’s fun, festive, and guaranteed to delight.
What makes these bars special is how customizable they are. You can make them spooky with Halloween-themed sprinkles, or go all out with candy eyeballs, gummy worms, or even chocolate spiders. They’re perfect for school parties, family gatherings, or just a cozy night in with a Halloween movie. And the best part? They’re dangerously easy to make. Trust me, you’re going to want to keep this recipe bookmarked for years to come.
Why You’ll Love This Recipe
- Quick & Easy: These cookie bars come together in under 30 minutes, making them ideal for busy moms or last-minute Halloween party prep.
- Simple Ingredients: No need for fancy pantry items—you probably have everything you need already!
- Halloween Fun: Perfect for spooky-themed gatherings, trick-or-treat nights, or even as a festive dessert at school parties.
- Kid-Approved: The bright sprinkles, soft texture, and sugary sweetness are always a hit with kids.
- Customizable: Make them as spooky or as simple as you like—add candy eyeballs, drizzle some chocolate “webs,” or stick with classic sprinkles.
- Unbelievably Delicious: The buttery, soft sugar cookie base paired with festive decorations makes these bars irresistible.
What sets these apart from traditional sugar cookies, you ask? It’s all about the texture. These bars are soft, chewy, and slightly thicker than your average cookie. Plus, you skip the hassle of rolling dough and cutting shapes—just press the dough into a pan, bake, and decorate. It’s foolproof, fun, and absolutely delicious.
Whether you’re hosting a Halloween bash or just want to whip up a spooky treat for your family, these bars deliver on flavor, fun, and festive vibes. Honestly, they’re the kind of dessert that makes you smile with every bite.
What Ingredients You Will Need
This recipe uses simple, everyday ingredients to create a magical Halloween treat. Many of these are pantry staples, and the rest can be easily found at your local grocery store.
- Unsalted butter: Softened, for that melt-in-your-mouth texture.
- Granulated sugar: The classic sweetness that makes sugar cookies shine.
- Large eggs: Bring them to room temperature for the best results.
- Vanilla extract: Adds a warm, sweet flavor—go for pure vanilla if you can.
- All-purpose flour: The base of the recipe. Make sure to measure accurately!
- Baking powder: Helps the cookie bars rise slightly and stay soft.
- Salt: Balances the sweetness and enhances the flavors.
- Halloween sprinkles: Choose spooky shapes and colors to fit the theme—think orange, black, and purple.
- Candy decorations: Optional but fun! Candy eyeballs, mini marshmallows, or crushed Halloween candies work great.
If you need substitutions, you can try using gluten-free flour or dairy-free butter for dietary needs. You can also experiment with almond extract or lemon zest for a unique twist.
Equipment Needed
- Mixing bowls: A couple of medium-sized bowls to mix your ingredients.
- Electric mixer: You can use a hand mixer or a stand mixer for even results.
- Spatula: For scraping the sides of the bowl and evenly spreading the dough.
- 9×13-inch baking pan: The perfect size for these bars. Line it with parchment paper for easy removal.
- Wire rack: For cooling the cookie bars after baking.
- Sharp knife: To cut the bars into neat squares or rectangles.
If you don’t have a mixer, a sturdy whisk and some elbow grease will get the job done. Any oven-safe pan close to the suggested size will work, though the thickness may vary slightly.
Preparation Method
- Preheat your oven to 350°F (175°C). Line a 9×13-inch baking pan with parchment paper, leaving some overhang on the sides for easy removal.
- In a mixing bowl, cream together 1 cup (226g) of softened unsalted butter and 1 ½ cups (300g) of granulated sugar on medium speed until light and fluffy—this should take about 2-3 minutes.
- Add 2 large eggs, one at a time, mixing well after each addition. Stir in 2 teaspoons of vanilla extract.
- In a separate bowl, whisk together 3 cups (375g) of all-purpose flour, 1 teaspoon of baking powder, and ½ teaspoon of salt.
- Gradually add the dry ingredients to the wet ingredients, mixing on low speed until just combined. Be careful not to overmix!
- Fold in ½ cup of Halloween sprinkles, reserving a few for the top.
- Press the dough evenly into the prepared baking pan. Sprinkle the reserved sprinkles on top for extra festive flair.
- Bake for 20-25 minutes, or until the edges are lightly golden and a toothpick inserted in the center comes out clean.
- Allow the bars to cool completely in the pan on a wire rack before lifting them out using the parchment paper overhang.
- Cut into squares or rectangles and add any additional decorations, like candy eyeballs or chocolate drizzle.
Pro tip: If the edges seem overly brown before the center is done, tent the pan with foil during the last few minutes of baking. And keep an eye on those sprinkles during baking—they can melt if left too close to the edges!
Cooking Tips & Techniques
- Don’t overmix: Overmixing can lead to tough cookie bars. Mix until just combined for the perfect soft texture.
- Room temperature ingredients: Make sure your butter and eggs are at room temperature for smooth mixing and better consistency.
- Use parchment paper: It makes lifting the bars out of the pan a breeze and helps with even baking.
- Choose sprinkles wisely: Avoid nonpareils, as they can bleed color into the dough. Go for jimmies or shaped sprinkles.
- Watch the oven: Every oven is different, so keep an eye on the bars during the last few minutes to avoid overbaking.
These tips come from years of testing sugar cookie recipes—you’ll thank yourself later for following them!
Variations & Adaptations
- Gluten-free option: Swap out the all-purpose flour for a 1:1 gluten-free baking blend.
- Dairy-free version: Use plant-based butter and dairy-free sprinkles to make these bars vegan-friendly.
- Chocolate twist: Add ¼ cup of cocoa powder to the dough for a spooky chocolate base, and use white and orange sprinkles for contrast.
- Seasonal switch: Swap the Halloween sprinkles for Christmas, Valentine’s Day, or Easter-themed decorations to use this recipe year-round.
One time, I added gummy worms on top of the bars to make them extra creepy—it was a huge hit with the kids!
Serving & Storage Suggestions
Serve these cookie bars at room temperature on a festive platter, paired with a glass of cold milk or a warm cup of cocoa. They’re a showstopper on any dessert table!
To store, place the bars in an airtight container and keep them at room temperature for up to 3 days. For longer storage, freeze them in a single layer and then transfer to a freezer-safe bag—they’ll keep for up to 2 months.
When reheating, let the bars thaw at room temperature or microwave them for a few seconds to soften them up. The flavors of vanilla and butter get even better the next day, making these a great make-ahead option!
Nutritional Information & Benefits
Each bar contains approximately:
- Calories: 190
- Fat: 8g
- Carbohydrates: 27g
- Protein: 2g
While these bars are undeniably a treat, they’re great for sharing in moderation. The simple ingredients make them a comforting option for festive indulgence. Just be mindful of sugar content, especially when adding extra decorations!
Conclusion
If you’re looking to add a touch of spooky sweetness to your Halloween celebrations, these Spooky Halloween Sugar Cookie Bars are the perfect choice. They’re easy to make, fun to decorate, and absolutely delicious. Plus, they’re a hit with kids and adults alike!
Give this recipe a try and customize it with your favorite Halloween toppings—your creativity will shine just as much as these colorful bars. Share your spooky creations in the comments below, and let me know any fun twists you add to the recipe!
Happy Halloween, and may your kitchen be full of treats (and no tricks) this season!
FAQs
Can I make these sugar cookie bars ahead of time?
Absolutely! They keep well at room temperature for up to 3 days or in the freezer for up to 2 months.
Can I use cookie cutters instead of making bars?
This recipe isn’t designed for cookie cutters, but you can try rolling out the dough and cutting shapes if you chill it first.
What type of sprinkles work best?
Jimmies or shaped sprinkles are ideal since they won’t bleed color during baking like nonpareils can.
Can I make this recipe gluten-free?
Yes, just use a gluten-free 1:1 baking flour substitute!
How do I prevent the bars from overbaking?
Keep a close eye on them during the last few minutes of baking and tent with foil if necessary to avoid browning the edges too much.
Pin This Recipe!
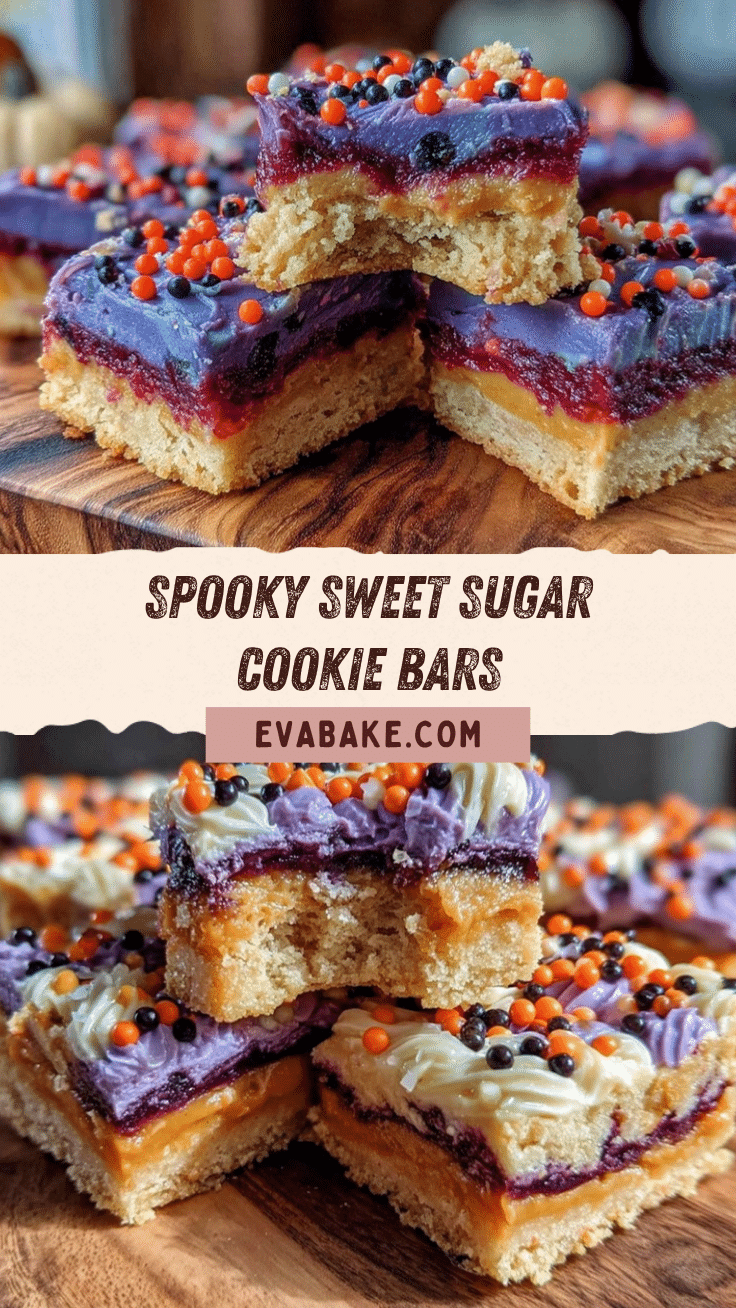
Spooky Halloween Sugar Cookie Bars
These Spooky Halloween Sugar Cookie Bars are a festive, fun, and frightfully delicious treat perfect for Halloween parties or cozy nights in.
- Prep Time: 10 minutes
- Cook Time: 25 minutes
- Total Time: 35 minutes
- Yield: 12 servings 1x
- Category: Dessert
- Cuisine: American
Ingredients
- 1 cup (226g) unsalted butter, softened
- 1 ½ cups (300g) granulated sugar
- 2 large eggs, room temperature
- 2 teaspoons vanilla extract
- 3 cups (375g) all-purpose flour
- 1 teaspoon baking powder
- ½ teaspoon salt
- ½ cup Halloween sprinkles
- Candy decorations (optional)
Instructions
- Preheat your oven to 350°F (175°C). Line a 9×13-inch baking pan with parchment paper, leaving some overhang on the sides for easy removal.
- In a mixing bowl, cream together 1 cup (226g) of softened unsalted butter and 1 ½ cups (300g) of granulated sugar on medium speed until light and fluffy—this should take about 2-3 minutes.
- Add 2 large eggs, one at a time, mixing well after each addition. Stir in 2 teaspoons of vanilla extract.
- In a separate bowl, whisk together 3 cups (375g) of all-purpose flour, 1 teaspoon of baking powder, and ½ teaspoon of salt.
- Gradually add the dry ingredients to the wet ingredients, mixing on low speed until just combined. Be careful not to overmix!
- Fold in ½ cup of Halloween sprinkles, reserving a few for the top.
- Press the dough evenly into the prepared baking pan. Sprinkle the reserved sprinkles on top for extra festive flair.
- Bake for 20-25 minutes, or until the edges are lightly golden and a toothpick inserted in the center comes out clean.
- Allow the bars to cool completely in the pan on a wire rack before lifting them out using the parchment paper overhang.
- Cut into squares or rectangles and add any additional decorations, like candy eyeballs or chocolate drizzle.
Notes
[‘Don’t overmix the dough to ensure soft cookie bars.’, ‘Use room temperature butter and eggs for better consistency.’, ‘Avoid nonpareils sprinkles as they can bleed color into the dough.’, ‘Tent the pan with foil during the last few minutes of baking if the edges seem overly brown.’]
Nutrition
- Serving Size: 1 bar
- Calories: 190
- Fat: 8
- Carbohydrates: 27
- Protein: 2
Keywords: Halloween, Sugar Cookie Bars, Easy Dessert, Kid-Friendly, Festive Treat


