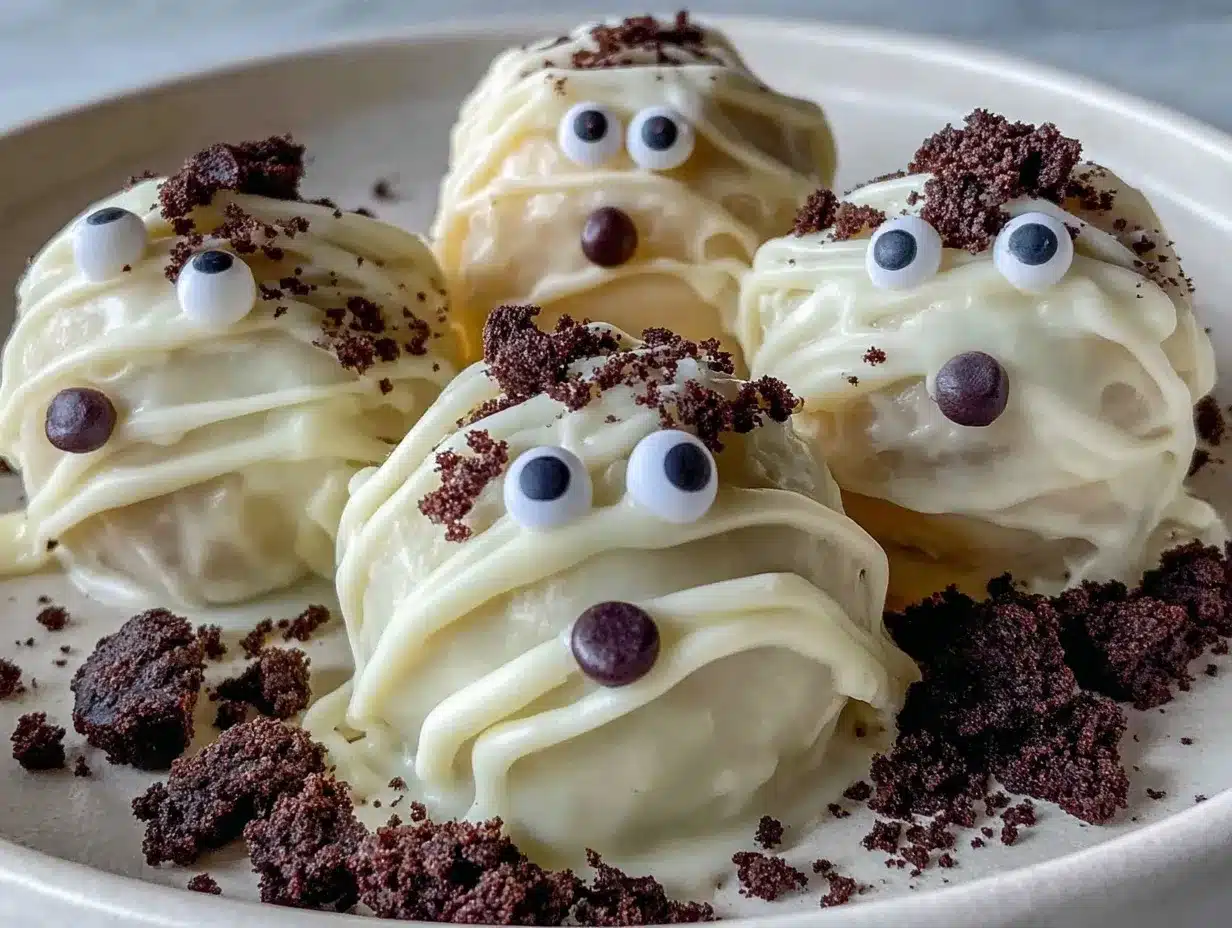
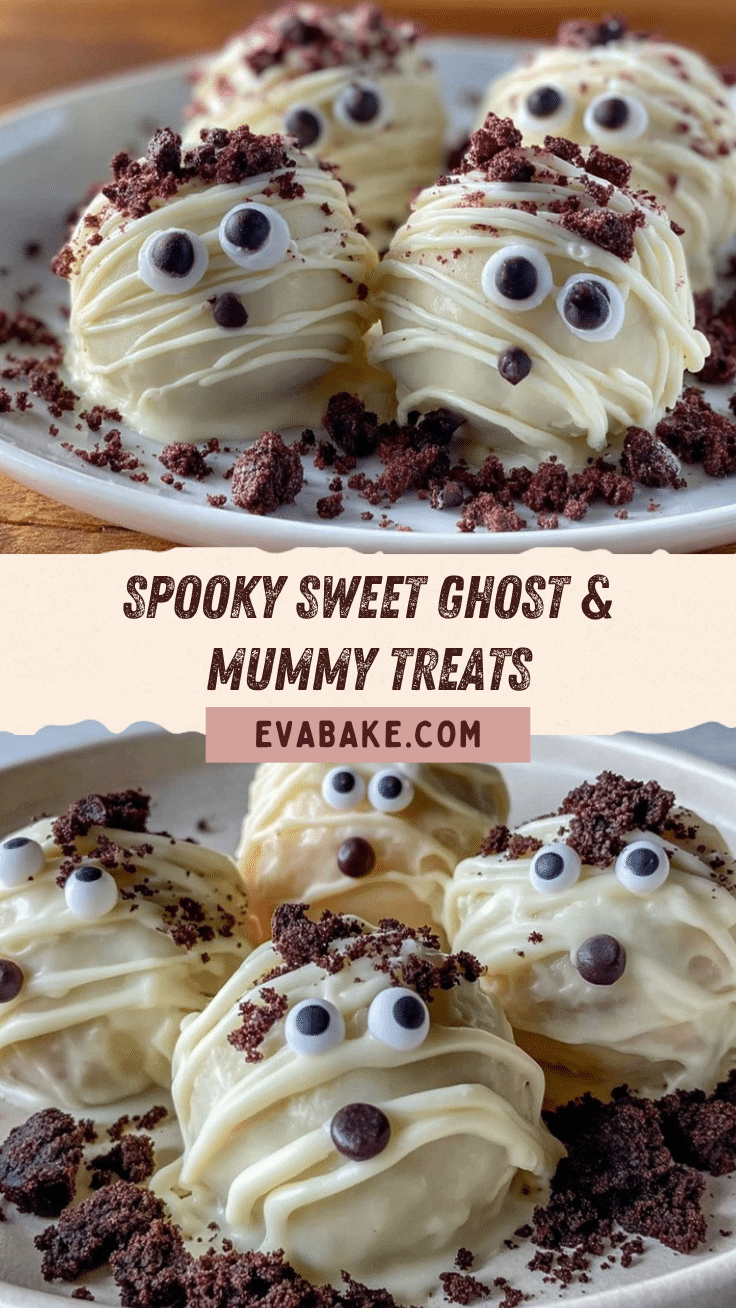
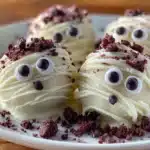
Let me tell you, the sight of these spooky little treats lining up on the dessert table is enough to make anyone’s inner ghoul giggle with delight. Imagine biting into a creamy, chocolatey Oreo filling that’s cloaked in white chocolate—each bite is as hauntingly delicious as it is fun. The first time I made these Easy Ghost and Mummy Oreo Balls, it was on a rainy October evening, and, honestly, I couldn’t stop smiling. My kids kept sneaking them off the tray, grinning ear to ear with chocolate-covered faces. That’s when I knew I’d created something truly magical for Halloween.
Years ago, Halloween treats were all about candy bars and lollipops, but these Oreo balls bring a fresh twist to the spooky season. Whether you’re hosting a Halloween party or just looking for a fun weekend activity with the family, these no-bake treats are dangerously easy to make and even easier to devour. Trust me—you’ll want to bookmark this recipe because it’s guaranteed to become a festive staple. Plus, they’re the kind of treats that make everyone’s face light up, whether they’re kids or kids at heart.
So, grab your Oreos, your white chocolate, and your favorite Halloween decorations, because it’s time to create some spooky, sweet magic in the kitchen. Ghosts and mummies never tasted so good!
Why You’ll Love This Recipe
- Fun and Festive: These ghost and mummy Oreo balls are the perfect way to add a spooky touch to your Halloween celebrations.
- Kid-Friendly: No baking required, which means kids can join in on the fun of rolling, dipping, and decorating.
- Simple Ingredients: You only need a handful of affordable ingredients, most of which you might already have in your pantry.
- Perfect for Parties: These eye-catching treats are always a hit at Halloween gatherings, and they disappear faster than you can say “Boo!”
- Customizable: Make them as spooky or silly as you want with different decorations—get creative!
- Irresistible Flavor: Creamy Oreo filling wrapped in sweet white chocolate makes for a decadent combo that everyone will adore.
What sets this recipe apart is how quick and easy it is to make while still delivering maximum visual impact. You don’t need to be a professional baker to whip up these little Halloween masterpieces. Plus, they’re not just treats—they’re an experience. Whether you’re crafting these for a party or gifting them to friends, they’re guaranteed to leave an impression. And let’s face it, who doesn’t love an Oreo-inspired dessert?
What Ingredients You Will Need
This recipe uses simple, everyday ingredients to create a spooky yet delicious treat. No fancy ingredients or confusing techniques here—just straightforward fun!
- Oreos: One standard package (about 36 cookies) will do the trick. You can pick classic or flavored Oreos depending on your preference.
- Cream Cheese: 8 ounces, softened. This is the magic ingredient that binds everything together.
- White Chocolate Chips: About 2 cups, melted for dipping. You can also use white candy melts for easier handling.
- Mini Chocolate Chips: Perfect for creating the ghost’s eyes and mummy details.
- Decorating Gel: Optional, but great for adding intricate mummy bandages or spooky expressions.
- Vegetable Oil: 1-2 teaspoons to smooth out your melted chocolate.
These ingredients are super versatile, and you can easily swap out or adjust them as needed. For example, use dark chocolate instead of white chocolate for different spooky vibes, or try dairy-free cream cheese and chocolate for a vegan-friendly option.
Equipment Needed
- Mixing Bowl: Any medium-sized bowl will work for combining the Oreo crumbs and cream cheese.
- Food Processor: A quick way to crush the Oreos into fine crumbs. Alternatively, use a rolling pin and a zip-top bag.
- Microwave-Safe Bowl: For melting the white chocolate or candy melts.
- Forks or Dipping Tools: Helpful for coating each Oreo ball evenly in melted chocolate.
- Baking Sheet: Lined with wax or parchment paper for easy cleanup.
Don’t have a food processor? No worries—just crush the Oreos manually. And for the chocolate, you can use a double boiler if you prefer a stovetop method. The recipe is adaptable to whatever tools you have on hand!
Preparation Method
- Crush the Oreos: Place the Oreos in a food processor and pulse until they become fine crumbs. If you’re doing this manually, seal them in a zip-top bag and crush with a rolling pin.
- Mix the Filling: In a mixing bowl, combine the Oreo crumbs and softened cream cheese. Stir until it’s fully blended and forms a dough-like consistency.
- Form the Balls: Using a tablespoon or cookie scoop, roll the mixture into small balls (about 1 inch in diameter). Place them on a wax-paper-lined baking sheet.
- Chill: Refrigerate the Oreo balls for at least 30 minutes to firm up. This step is crucial for making them easier to coat.
- Melt the Chocolate: In a microwave-safe bowl, melt the white chocolate chips in 30-second intervals, stirring between each, until smooth. Add a teaspoon of vegetable oil if needed to thin the chocolate.
- Dip the Balls: Using a fork or dipping tool, coat each Oreo ball in the melted chocolate. Place them back on the baking sheet to set.
- Decorate: Use mini chocolate chips for ghost eyes and decorating gel for mummy bandages. Get creative with spooky expressions!
- Chill Again: Refrigerate the decorated Oreo balls until the chocolate is completely set—about 15-20 minutes.
Pro tip: If your chocolate starts to harden while dipping, reheat it for 10 seconds in the microwave to keep it smooth. And don’t worry if your decorations aren’t perfect—imperfections add to their spooky charm!
Cooking Tips & Techniques
- Keep It Cool: Make sure the Oreo balls are chilled before dipping; this prevents them from falling apart in the melted chocolate.
- Smooth Chocolate: Add a bit of vegetable oil to your melted chocolate to keep it silky and easy to work with.
- Decorating Hacks: If you don’t have decorating gel, melted dark chocolate works great for mummy bandages or ghost expressions.
- Batch Prep: Make the Oreo balls ahead of time and freeze them. Just dip and decorate the day you need them!
- Quick Cleanup: Use parchment paper or wax paper to line your baking sheet—it makes cleanup a breeze!
And remember, even if a decoration doesn’t turn out how you imagined, it’s Halloween—quirky imperfections only add to the spooky fun!
Variations & Adaptations
- Gluten-Free: Use gluten-free Oreos to make this recipe suitable for those with gluten sensitivities.
- Vegan-Friendly: Swap cream cheese for a dairy-free alternative and use vegan chocolate chips.
- Seasonal Twist: Use pumpkin spice-flavored Oreos for an autumn-inspired variation.
- Colorful Decorations: Add edible glitter or use candy eyes for extra whimsy.
- Different Shapes: Roll the mixture into ovals or flatten slightly for unique ghost and mummy shapes.
One fun variation I tried was using crushed peppermint candies in the filling for a minty Halloween twist—it was a hit with my family!
Serving & Storage Suggestions
Serve these Ghost and Mummy Oreo Balls chilled for the best texture and flavor. Arrange them on a festive Halloween platter or tuck them into treat bags for party favors. Pair with a warm mug of apple cider or hot chocolate for a cozy vibe.
Store any leftovers in an airtight container in the refrigerator for up to a week. If you want to prep ahead, freeze undecorated Oreo balls for up to a month. When ready to serve, let them thaw briefly, then dip and decorate as needed.
Tip: These treats taste even better the next day as the flavors meld together—if you can resist eating them all at once!
Nutritional Information & Benefits
Each Oreo ball contains approximately:
- Calories: 150
- Fat: 8g
- Carbohydrates: 18g
- Protein: 2g
While these treats are definitely indulgent, they’re perfect for special occasions. Oreos provide a nostalgic comfort, and the cream cheese adds a creamy richness. For those watching their dietary needs, gluten-free or vegan variations can easily be made without sacrificing flavor.
Conclusion
These Easy Ghost and Mummy Oreo Balls are more than just a Halloween treat—they’re a fun-filled activity, a crowd-pleasing dessert, and a sweet way to celebrate the spooky season. Whether you’re a seasoned baker or a kitchen newbie, this recipe is approachable, customizable, and guaranteed to bring a smile to everyone’s face.
I absolutely love making these with my kids—it’s a tradition that fills our kitchen with laughter and sweet memories. So, gather your family and friends, whip up a batch, and let your creativity shine. And hey, if you try any fun variations or decorations, I’d love to hear about it in the comments below!
Happy Halloween and happy baking—may your treats be spooky and your tricks be sweet!
FAQs
Can I use different kinds of Oreos?
Absolutely! You can use any Oreo flavor—classic, golden, or even seasonal varieties like pumpkin spice.
Do I need a food processor?
Nope! You can crush the Oreos manually by sealing them in a zip-top bag and using a rolling pin.
Can I make these ahead of time?
Yes! You can prepare the Oreo balls and freeze them for up to a month. Dip and decorate them the day you plan to serve.
What can I use for dairy-free substitutions?
Swap cream cheese for a dairy-free alternative, like coconut cream cheese, and use dairy-free chocolate chips.
How do I store leftovers?
Keep them in an airtight container in the fridge for up to a week, or freeze undecorated Oreo balls for longer storage.
Pin This Recipe!
Easy Ghost and Mummy Oreo Balls Recipe Perfect for Halloween
These spooky, no-bake Oreo balls are creamy, chocolatey, and perfect for Halloween celebrations. Fun to make and even more fun to eat!
- Prep Time: 15 minutes
- Cook Time: 0 minutes
- Total Time: 45 minutes
- Yield: 24 servings 1x
- Category: Dessert
- Cuisine: American
Ingredients
- 1 standard package of Oreos (about 36 cookies)
- 8 ounces cream cheese, softened
- 2 cups white chocolate chips, melted
- Mini chocolate chips for decoration
- Decorating gel (optional)
- 1–2 teaspoons vegetable oil
Instructions
- Place the Oreos in a food processor and pulse until they become fine crumbs. Alternatively, seal them in a zip-top bag and crush with a rolling pin.
- In a mixing bowl, combine the Oreo crumbs and softened cream cheese. Stir until fully blended and forms a dough-like consistency.
- Using a tablespoon or cookie scoop, roll the mixture into small balls (about 1 inch in diameter). Place them on a wax-paper-lined baking sheet.
- Refrigerate the Oreo balls for at least 30 minutes to firm up.
- In a microwave-safe bowl, melt the white chocolate chips in 30-second intervals, stirring between each, until smooth. Add a teaspoon of vegetable oil if needed to thin the chocolate.
- Using a fork or dipping tool, coat each Oreo ball in the melted chocolate. Place them back on the baking sheet to set.
- Use mini chocolate chips for ghost eyes and decorating gel for mummy bandages. Get creative with spooky expressions!
- Refrigerate the decorated Oreo balls until the chocolate is completely set—about 15-20 minutes.
Notes
[‘Make sure the Oreo balls are chilled before dipping to prevent them from falling apart.’, ‘Add a bit of vegetable oil to your melted chocolate to keep it silky and easy to work with.’, ‘Decorate creatively with mini chocolate chips, decorating gel, or melted dark chocolate.’, ‘Prepare the Oreo balls ahead of time and freeze them for up to a month. Dip and decorate the day you need them.’]
Nutrition
- Serving Size: 1 Oreo ball
- Calories: 150
- Fat: 8
- Carbohydrates: 18
- Protein: 2
Keywords: Halloween, Oreo balls, no-bake dessert, spooky treats, kid-friendly recipe


