Let me tell you, the moment you crack open a package of Oreo cookies and catch that sweet, chocolatey aroma mixing with creamy cheesecake filling is downright irresistible. The first time I made this Easy Creamy No-Bake Oreo Cheesecake, I was instantly hooked—the kind of moment where you pause, take a deep breath, and just smile because you know you’re onto something truly special. It all started years ago, on a lazy summer afternoon when I was knee-high to a grasshopper, helping my grandma whip up desserts for family gatherings.
Back then, no-bake cheesecakes seemed like magic—no oven fuss, just pure, nostalgic comfort. Honestly, I wish I’d found this recipe years ago because my family couldn’t stop sneaking pieces off the cooling rack (and I can’t really blame them). You know what makes this recipe so dangerously easy? It’s creamy, luscious, and packed with those signature Oreo cookie bits that bring everyone to the table.
This Easy Creamy No-Bake Oreo Cheesecake Recipe is perfect for summer desserts when you want something cool and indulgent but hate turning on the oven. Whether you’re hosting a backyard barbecue, looking for a sweet treat for your kids, or just want to brighten up your Pinterest cookie board, this cheesecake fits the bill. I’ve tested it multiple times in the name of research, of course, and now it’s a staple for family gatherings, gifting, and moments when you need a warm hug from dessert. You’re going to want to bookmark this one.
Why You’ll Love This Recipe
Over the years, I’ve tried countless cheesecake recipes, but this Easy Creamy No-Bake Oreo Cheesecake stands out for a bunch of reasons. It’s not just another cookie cheesecake—it’s the best version that balances simplicity and indulgence with a smooth texture that melts in your mouth. Here’s why it’s a winner:
- Quick & Easy: Comes together in under 20 minutes, perfect for busy weeknights or last-minute cravings.
- Simple Ingredients: No fancy grocery trips needed; you likely already have everything in your kitchen.
- Perfect for Summer Desserts: No oven? No problem. This cheesecake stays cool and creamy, ideal for warm weather.
- Crowd-Pleaser: Always gets rave reviews from kids and adults alike—those Oreos don’t stand a chance.
- Unbelievably Delicious: The texture and flavor combo is next-level comfort food, with that classic Oreo crunch mixed into silky cream cheese filling.
What sets this cheesecake apart is the no-bake technique that keeps the filling light yet rich, and the crushed Oreos folded in for bursts of chocolaty goodness. Plus, the crust is a snap to make, with crushed Oreos binding everything together without extra fuss. It’s comfort food reimagined—cool, creamy, and perfect for impressing guests without stress. When you take that first bite, you’ll close your eyes and savor the sweet, smooth bliss that only a homemade Oreo cheesecake can provide.
What Ingredients You Will Need
This Easy Creamy No-Bake Oreo Cheesecake Recipe relies on simple, wholesome ingredients to deliver bold flavor and satisfying texture without the fuss. Most are pantry staples, making this an easy dessert to whip up anytime.
- For the crust:
- 24 Oreo cookies (about 1 ¾ cups crushed) – I prefer the classic Oreos for that perfect balance of chocolate and cream
- 6 tablespoons unsalted butter, melted (adds richness and helps bind the crust)
- For the filling:
- 16 ounces (450g) cream cheese, softened (room temperature for easy mixing)
- 1 cup (120g) powdered sugar – for gentle sweetness
- 1 teaspoon pure vanilla extract (real vanilla makes a difference!)
- 1 ½ cups (360ml) heavy whipping cream, cold (for that luscious, fluffy texture)
- 12 Oreo cookies, roughly chopped or crushed (folded into the filling for Oreo bursts)
Optional substitutions: Use dairy-free cream cheese and coconut cream for a vegan-friendly version, or swap the heavy cream with chilled coconut milk if preferred. For a gluten-free option, choose gluten-free sandwich cookies instead of Oreos. I’ve also tried mixing in a pinch of espresso powder to deepen the chocolate flavor, which turns out great for mocha lovers.
Equipment Needed
- 9-inch (23cm) springform pan – makes removing the cheesecake a breeze
- Mixing bowls – one large for the filling, one medium for the crust
- Electric hand mixer or stand mixer – to whip the cream and blend the filling perfectly smooth
- Food processor or rolling pin – to crush the Oreos finely for the crust
- Rubber spatula – for folding in crushed Oreos without deflating the filling
- Measuring cups and spoons – for precise ingredient amounts
If you don’t have a springform pan, a regular cake pan lined with parchment paper will work too, though be extra careful when unmolding. For crushing Oreos, a zip-top bag and rolling pin works just fine if you don’t have a food processor. Personally, I find a stand mixer makes whipping cream effortless, but a good hand mixer will do the trick without breaking the bank.
Preparation Method
- Prepare the crust: Start by crushing 24 Oreo cookies until you have about 1 ¾ cups of fine crumbs. You can use a food processor or place them in a zip-top bag and crush with a rolling pin. In a medium bowl, combine the crushed Oreos and 6 tablespoons melted butter. Stir until all crumbs are coated and the mixture holds together when pressed. (This usually takes about 5 minutes.)
- Form the crust base: Press the Oreo mixture firmly into the bottom of a 9-inch springform pan, spreading evenly and packing it down with the back of a spoon or your fingers. This step is important to get a compact crust that won’t crumble when sliced. Place the pan in the fridge to chill while you prepare the filling (about 10 minutes).
- Make the filling base: In a large mixing bowl, beat 16 ounces softened cream cheese with 1 cup powdered sugar and 1 teaspoon vanilla extract until smooth and creamy. This takes about 3-4 minutes with an electric mixer on medium speed. Make sure there are no lumps—scrape down the sides as needed.
- Whip the cream: In a separate bowl, pour 1 ½ cups cold heavy whipping cream and whip on high speed until stiff peaks form. This usually takes 3-5 minutes. Be careful not to overwhip, or you’ll get butter!
- Combine filling components: Gently fold the whipped cream into the cream cheese mixture using a rubber spatula. Fold slowly and carefully to keep the filling light and airy. Once combined, fold in 12 roughly chopped Oreo cookies for that perfect chocolaty crunch throughout the filling.
- Assemble and chill: Pour the filling over the chilled Oreo crust and smooth the top with a spatula. Cover the pan with plastic wrap and refrigerate for at least 4 hours, preferably overnight. This allows the cheesecake to set perfectly and flavors to meld.
- Serve: When ready, release the springform pan sides and slice with a clean, sharp knife dipped in warm water (wipe dry between cuts for clean slices). Enjoy the creamy, dreamy, Oreo-packed cheesecake!
If your filling feels too soft, a little extra chilling time does wonders. The smell of the Oreos and cream cheese mingling while it sets is honestly one of the best parts. Don’t rush the chilling—it’s what turns this cheesecake from good to unforgettable.
Cooking Tips & Techniques
Getting this Easy Creamy No-Bake Oreo Cheesecake just right is all about a few simple tricks I’ve learned from trial and error. First, make sure your cream cheese is fully softened; otherwise, you’ll end up with lumps that no amount of mixing can fix. Patience is key here—beat it until silky smooth.
When whipping the cream, keep an eye on it. It goes from soft peaks to stiff peaks quickly, and then suddenly to butter if you’re not careful. Stop whipping as soon as stiff peaks hold their shape but still feel light. Folding the whipped cream into the cream cheese mixture gently keeps the filling airy and prevents it from getting dense or heavy.
Another tip: crush the Oreos for the crust finely, but leave the ones folded into the filling chunkier for texture contrast. Also, pressing the crust firmly into the pan helps avoid crumbly slices later. If you find the crust too fragile, add an extra tablespoon of melted butter next time.
Lastly, don’t underestimate the chilling time. This no-bake cheesecake sets up best when left overnight, but if you’re impatient, at least 4 hours will do. Trust me, the slice cuts cleaner and the flavors develop more fully with time.
Variations & Adaptations
This Easy Creamy No-Bake Oreo Cheesecake is a versatile canvas for all sorts of flavor spins and dietary tweaks. Here are some of my favorite ways to switch it up:
- Peanut Butter Oreo: Add ½ cup creamy peanut butter to the filling for a rich, nutty twist that pairs beautifully with Oreos.
- Berry Swirl: Fold in ½ cup fresh or frozen raspberries or strawberries before chilling to add a bright, tart contrast to the sweet cream.
- Vegan-Friendly: Use dairy-free cream cheese and coconut cream instead of heavy cream. Choose vegan Oreo cookies (they’re dairy-free in the US) to keep it completely plant-based.
- Chocolate Lovers: Mix ¼ cup cocoa powder into the cream cheese filling for an ultra-chocolatey cheesecake that’s still creamy and light.
- Mini Cheesecakes: Make individual portions in mason jars or mini springform pans—great for parties and portion control.
For baking alternatives, if you want a firmer texture, you can briefly chill the crust in the oven at 350°F (175°C) for 5 minutes before assembling, but honestly, the no-bake method is the charm of this recipe. I once tried adding espresso powder for a mocha Oreo cheesecake and it totally won over my coffee-loving friends.
Serving & Storage Suggestions
This cheesecake is best served chilled, straight from the fridge. The creamy texture softens slightly at room temperature, making it easier to savor each bite. For a pretty presentation, sprinkle a few whole or halved Oreos on top before serving or dust lightly with cocoa powder.
Pair it with a cold glass of milk, a cup of coffee, or even a scoop of vanilla ice cream for an extra indulgent treat. It also makes a show-stopping dessert for summer potlucks or birthdays.
Store leftovers covered in the fridge for up to 4 days. If you want to keep it longer, this cheesecake freezes well; just wrap it tightly in plastic wrap and foil. Thaw overnight in the fridge before serving. Reheating isn’t necessary—this dessert shines chilled. Fun fact: the flavors tend to meld and deepen after a day or two, so sometimes waiting makes it even better!
Nutritional Information & Benefits
Each generous slice of this Easy Creamy No-Bake Oreo Cheesecake clocks in at approximately 400-450 calories, depending on portion size. It’s rich in fat and sugar, which makes it a true treat, but also provides calcium and protein from the cream cheese and heavy cream.
The Oreos add a bit of chocolate and sweetness, though they do contain gluten and dairy, so keep that in mind if you’re catering to allergies. For a lighter option, consider reducing the sugar slightly or swapping heavy cream for lighter dairy alternatives.
From a wellness perspective, I see this cheesecake as a joyful indulgence—perfect for celebrating moments without guilt when balanced with an overall healthy diet. The cream cheese offers some vitamin A and B2, while the homemade crust keeps things simple and free of preservatives.
Conclusion
If you’re looking for a dessert that’s both easy and impressive, this Easy Creamy No-Bake Oreo Cheesecake Recipe is a no-brainer. It’s creamy, dreamy, and packed with the nostalgic crunch of Oreos that everyone loves. You can customize it to suit your tastes, from fruity twists to vegan versions, but honestly, the classic recipe hits the spot every time.
I love this cheesecake because it feels like a warm hug on a hot day—refreshing, comforting, and totally addictive. Give it a try, and don’t forget to let me know how it turns out in the comments. Share your favorite variations or tips, and please pass this recipe along to any Oreo cheesecake fans you know. Happy no-baking!
FAQs
Can I make this cheesecake ahead of time?
Absolutely! In fact, it tastes better after chilling overnight. Just cover it tightly and keep refrigerated until ready to serve.
Can I use regular cookies instead of Oreos?
You can, but Oreos have a unique flavor and cream filling that works best. Chocolate sandwich cookies with cream filling are the closest substitute.
How do I prevent the crust from being too crumbly?
Press the crust mixture firmly into the pan and make sure to use enough melted butter to bind the crumbs together well.
Is it possible to freeze the cheesecake?
Yes! Wrap it tightly in plastic wrap and foil, freeze for up to 2 months, and thaw in the fridge overnight before serving.
Can I make this recipe dairy-free or vegan?
Yes, use dairy-free cream cheese, coconut cream, and vegan-friendly Oreos to create a delicious vegan version.
Pin This Recipe!
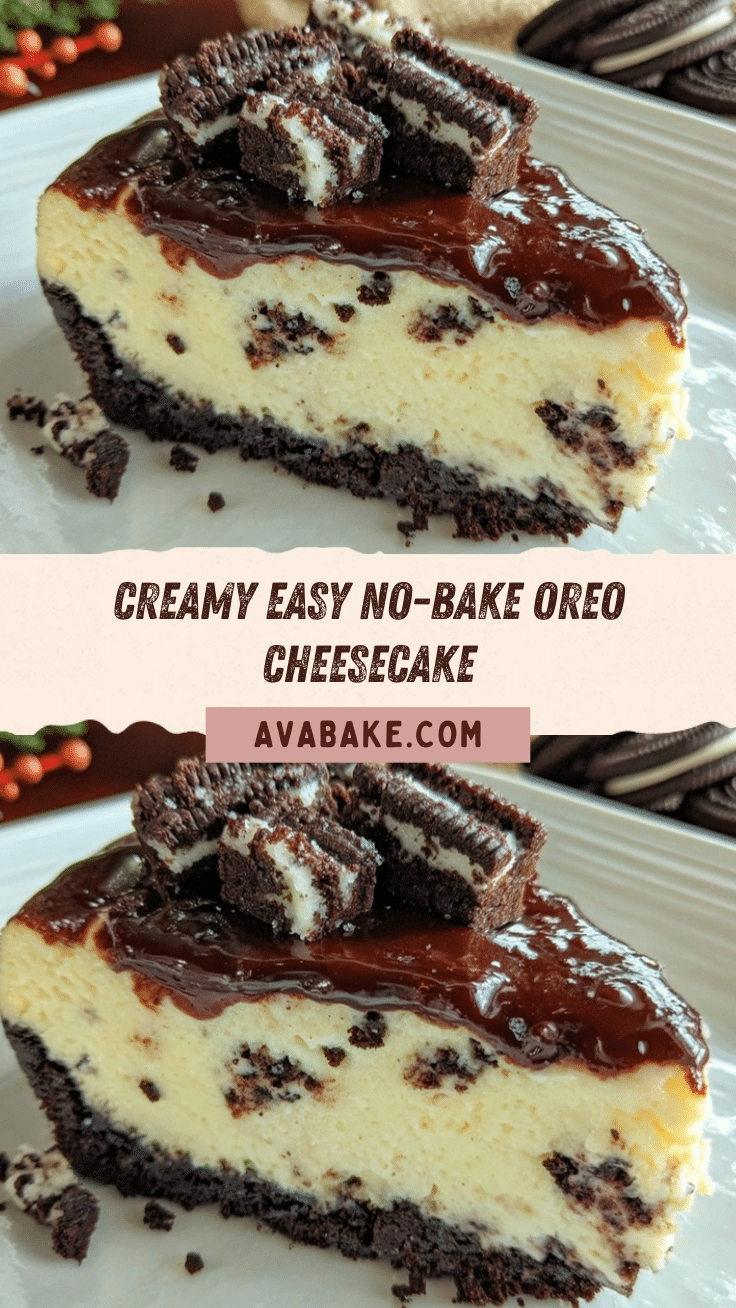
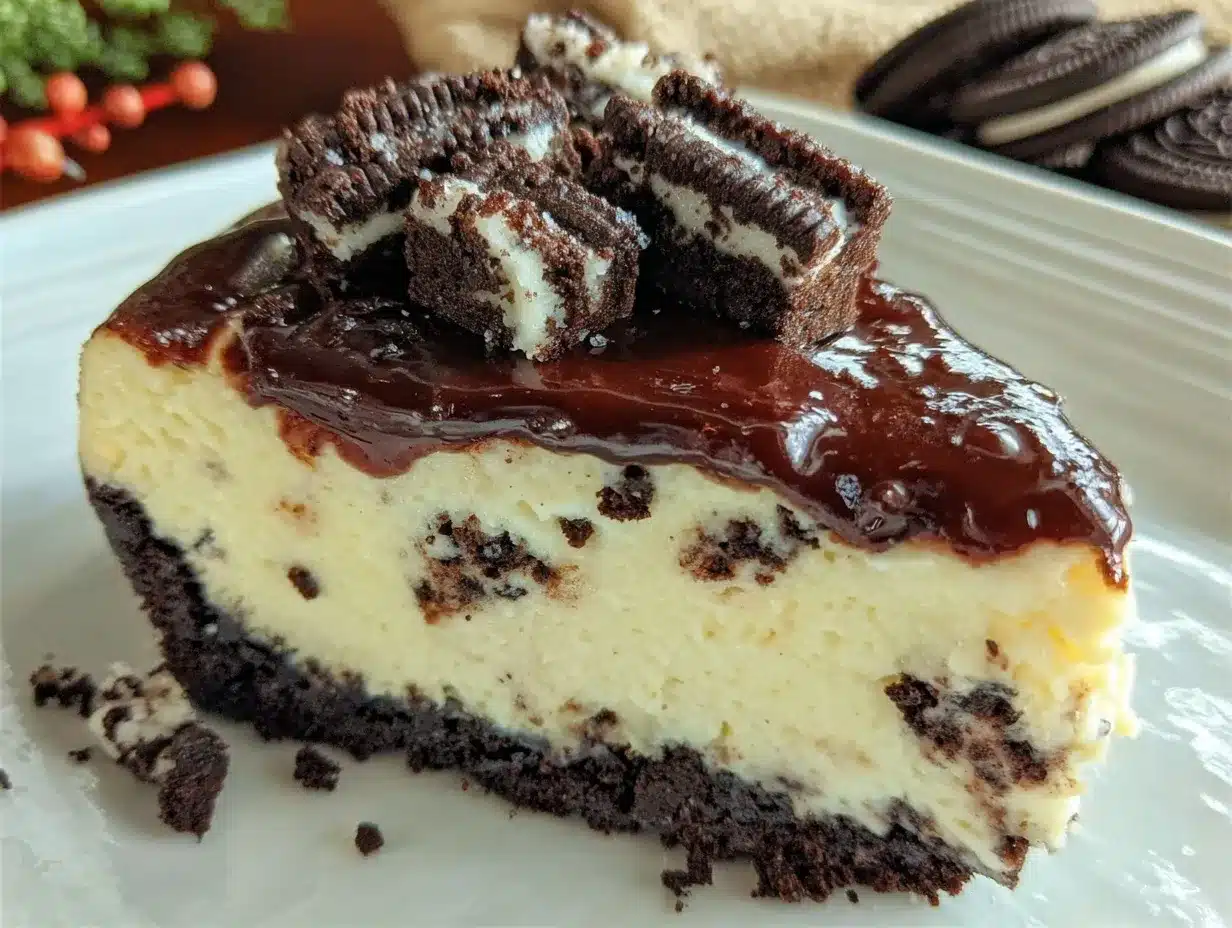
Easy Creamy No-Bake Oreo Cheesecake Recipe Perfect for Summer Desserts
A quick and easy no-bake Oreo cheesecake that is creamy, luscious, and perfect for summer. This recipe features a crunchy Oreo crust and a smooth cream cheese filling with Oreo chunks folded in.
- Prep Time: 15 minutes
- Cook Time: 0 minutes
- Total Time: 4 hours 15 minutes
- Yield: 12 servings 1x
- Category: Dessert
- Cuisine: American
Ingredients
- 24 Oreo cookies (about 1 ¾ cups crushed)
- 6 tablespoons unsalted butter, melted
- 16 ounces (450g) cream cheese, softened
- 1 cup (120g) powdered sugar
- 1 teaspoon pure vanilla extract
- 1 ½ cups (360ml) heavy whipping cream, cold
- 12 Oreo cookies, roughly chopped or crushed
Instructions
- Crush 24 Oreo cookies until you have about 1 ¾ cups of fine crumbs using a food processor or a zip-top bag and rolling pin.
- In a medium bowl, combine the crushed Oreos and 6 tablespoons melted butter. Stir until all crumbs are coated and the mixture holds together when pressed.
- Press the Oreo mixture firmly into the bottom of a 9-inch springform pan, spreading evenly and packing it down. Chill in the fridge for about 10 minutes.
- In a large mixing bowl, beat 16 ounces softened cream cheese with 1 cup powdered sugar and 1 teaspoon vanilla extract until smooth and creamy.
- In a separate bowl, whip 1 ½ cups cold heavy whipping cream on high speed until stiff peaks form.
- Gently fold the whipped cream into the cream cheese mixture using a rubber spatula, then fold in 12 roughly chopped Oreo cookies.
- Pour the filling over the chilled Oreo crust and smooth the top. Cover with plastic wrap and refrigerate for at least 4 hours or overnight.
- When ready, release the springform pan sides and slice with a clean, sharp knife dipped in warm water for clean slices. Serve chilled.
Notes
Make sure cream cheese is fully softened to avoid lumps. Do not overwhip the cream to prevent it from turning into butter. Press crust firmly to avoid crumbling. Chill cheesecake overnight for best texture and flavor. For vegan or gluten-free versions, use dairy-free cream cheese, coconut cream, and vegan or gluten-free cookies.
Nutrition
- Serving Size: 1 slice
- Calories: 425
- Sugar: 25
- Sodium: 250
- Fat: 30
- Saturated Fat: 18
- Carbohydrates: 35
- Fiber: 1
- Protein: 6
Keywords: no-bake cheesecake, Oreo cheesecake, summer dessert, easy cheesecake, creamy dessert, no oven dessert