Introduction
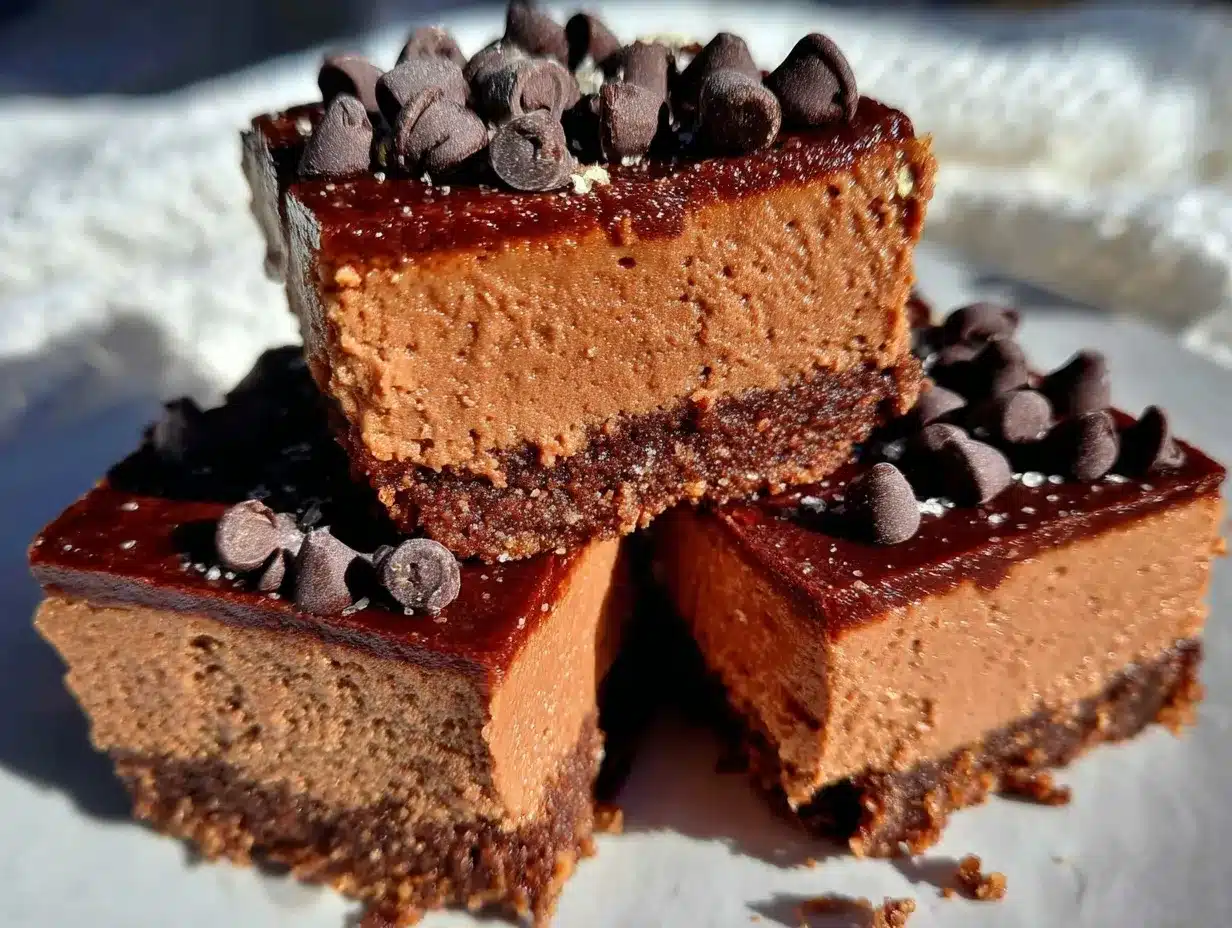
Picture this: a silky-smooth chocolate cheesecake that melts in your mouth, all nestled atop a buttery, crumbly crust. No oven required, no fancy techniques—just pure indulgence that’s as easy to make as it is to eat. The first time I whipped up these creamy no bake chocolate cheesecake bars, I was trying to impress my family with a dessert that felt decadent but didn’t take hours to prepare. And let me tell you, it was one of those moments where I knew I had struck gold. Everyone’s eyes lit up with that first bite, and the compliments just kept coming.
These bars remind me of the kind of dessert my grandma would make on hot summer days when turning on the oven was out of the question. She had a knack for creating treats that were simple yet tasted like they came straight out of a bakery. Honestly, these cheesecake bars feel like a little slice of nostalgia with every bite.
What I love most is how versatile they are. Whether you’re making them for a birthday party, a holiday gathering, or just a regular Tuesday when you need a little pick-me-up, they hit the spot every single time. Tested and approved by my family (who couldn’t stop sneaking extras from the fridge), these bars have officially become a staple in our dessert rotation. Bookmark this recipe—you’re going to want to make it again and again!
Why You’ll Love This Recipe
- Quick & Easy: No baking required, and it comes together in just about 30 minutes (plus chilling time).
- Simple Ingredients: You probably already have most of these ingredients in your pantry or fridge.
- Perfect for Any Occasion: Great for potlucks, holiday parties, or even as a treat-yourself dessert.
- Crowd-Pleaser: The creamy texture combined with rich chocolate flavor always gets rave reviews.
- Unbelievably Delicious: The rich chocolate cheesecake filling is velvety smooth and irresistible.
What sets these bars apart is the balance between the chocolate cheesecake filling and the buttery crust. It’s not too sweet, not too heavy—just pure, creamy perfection. Plus, the recipe is forgiving, so even if you’re not a seasoned baker, you’ll nail it every time. Trust me, this dessert is the kind you dream about long after the last bite is gone!
What Ingredients You Will Need
This recipe uses simple, wholesome ingredients to deliver bold chocolate flavor and creamy texture without the fuss. Here’s what you’ll need:
- For the crust:
- 1 ½ cups (150g) graham cracker crumbs
- 6 tablespoons (85g) unsalted butter, melted
- 2 tablespoons (25g) granulated sugar
- For the chocolate cheesecake filling:
- 12 ounces (340g) cream cheese, softened
- ½ cup (60g) powdered sugar
- 1 teaspoon vanilla extract
- 1 cup (170g) semi-sweet chocolate chips, melted and slightly cooled
- ¾ cup (180ml) heavy cream, whipped
- Optional topping:
- Chocolate shavings or cocoa powder for garnish
- 9×9-inch baking pan (or similar size)
- Mixing bowls (medium and large)
- Hand mixer or stand mixer
- Spatula
- Measuring cups and spoons
- Microwave-safe bowl (for melting chocolate)
- Parchment paper (optional, for easy removal)
- Prepare the crust: Combine graham cracker crumbs, melted butter, and sugar in a medium bowl. Mix until the crumbs are evenly moistened. Press the mixture firmly into the bottom of your baking pan to form an even layer. Chill in the fridge while you prepare the filling.
- Make the chocolate filling: In a large bowl, beat the softened cream cheese with powdered sugar and vanilla extract until smooth and creamy (about 2-3 minutes). Add the melted chocolate and mix until fully combined.
- Whip the cream: In a separate bowl, whip the heavy cream until stiff peaks form. Gently fold the whipped cream into the chocolate cream cheese mixture until smooth and fluffy.
- Assemble the bars: Spread the chocolate cheesecake filling evenly over the chilled crust. Smooth the top with a spatula for a clean finish.
- Chill: Cover the pan with plastic wrap and refrigerate for at least 4 hours or overnight to set.
- Serve: Slice into bars and garnish with chocolate shavings or a dusting of cocoa powder before serving.
- Room temperature ingredients: Make sure your cream cheese is softened—this prevents lumps in the filling.
- Melting chocolate: Melt in short intervals in the microwave, stirring after each, to avoid burning.
- Don’t skip the chilling: These bars need time to set, so plan ahead and resist the urge to cut them too soon.
- Whip the cream properly: Whipping to stiff peaks ensures the filling is light and airy.
- Press the crust firmly: Use the bottom of a glass or measuring cup to pack the crust tightly—it prevents crumbling.
- Dietary adaptations: Use gluten-free graham crackers for a gluten-free crust or swap dairy ingredients with vegan alternatives.
- Seasonal adaptations: Add a layer of fresh berries on top for a summer twist or sprinkle crushed candy canes for a holiday vibe.
- Flavor variations: Mix in a tablespoon of espresso powder for mocha bars or use white chocolate instead of semi-sweet for a milder flavor.
- Calories: 320
- Fat: 22g
- Carbohydrates: 26g
- Protein: 4g
- Chocolate: A natural mood booster and antioxidant-rich.
- Whipped cream: Adds lightness without overly heavy calories.
- Customizable ingredients: Easily adapted to suit dietary preferences.
Feel free to swap graham crackers with your favorite cookie crumbs (like Oreos!) or use dairy-free cream cheese and whipped coconut cream for a vegan version.
Equipment Needed
If you don’t have a mixer, you can whip the cream by hand with a whisk—it’s a workout, but totally doable!
Preparation Method
Pro tip: If the filling seems too soft, don’t worry—it firms up beautifully after chilling.
Cooking Tips & Techniques
Variations & Adaptations
I once swapped the chocolate filling for a peanut butter version—it was a hit at our family picnic!
Serving & Storage Suggestions
These bars are best served chilled. Cut them into squares and arrange them on a dessert platter for a polished presentation. Pair with a cup of coffee or a glass of cold milk for the ultimate treat.
To store, cover the pan tightly with plastic wrap or transfer bars to an airtight container. They’ll keep in the refrigerator for up to 5 days. For longer storage, freeze the bars for up to 2 months—just thaw in the fridge before serving.
Tip: The flavors deepen after a day in the fridge, so they taste even better as leftovers!
Nutritional Information & Benefits
Estimated per serving (1 bar):
Key benefits:
Conclusion
If you’re looking for a dessert that delivers on flavor, ease, and versatility, these creamy no bake chocolate cheesecake bars truly check all the boxes. They’re perfect for any occasion, endlessly adaptable, and always a hit with family and friends. Honestly, they’ve become a favorite in my kitchen, and I know they’ll be in yours too.
Give them a try, and don’t forget to share your thoughts in the comments below. What fun variations will you come up with? Let me know—I’d love to hear how you make this recipe your own. Happy no-baking!
FAQs
Can I use a different type of chocolate?
Absolutely! Feel free to use milk chocolate for a sweeter taste or dark chocolate for a richer flavor.
How long do these bars need to chill?
At least 4 hours, but overnight is best for a firmer set.
Can I freeze the bars?
Yes! Wrap them tightly and freeze for up to 2 months. Just thaw in the fridge before serving.
What can I use instead of graham crackers?
Try crushed Oreos, digestive biscuits, or even shortbread cookies for the crust.
How do I know when the whipped cream is ready?
Look for stiff peaks—it should hold its shape when you lift the whisk.
Pin This Recipe!
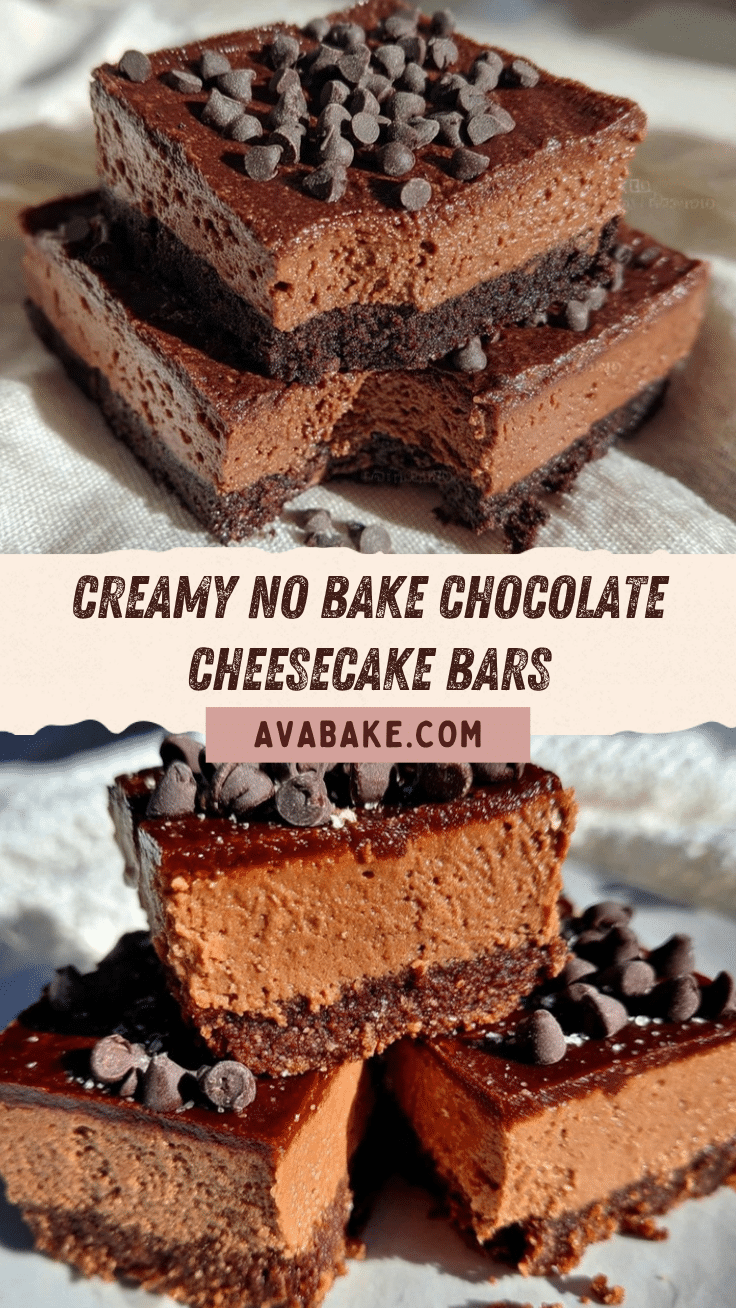
Creamy No Bake Chocolate Cheesecake Bars Recipe
Silky-smooth chocolate cheesecake bars with a buttery crust, no baking required. Perfect for any occasion and easy to make.
- Prep Time: 30 minutes
- Cook Time: 4 hours (chilling time)
- Total Time: 4 hours 30 minutes
- Yield: 12 bars 1x
- Category: Dessert
- Cuisine: American
Ingredients
- 1 ½ cups graham cracker crumbs
- 6 tablespoons unsalted butter, melted
- 2 tablespoons granulated sugar
- 12 ounces cream cheese, softened
- ½ cup powdered sugar
- 1 teaspoon vanilla extract
- 1 cup semi-sweet chocolate chips, melted and slightly cooled
- ¾ cup heavy cream, whipped
- Chocolate shavings or cocoa powder for garnish (optional)
Instructions
- Combine graham cracker crumbs, melted butter, and sugar in a medium bowl. Mix until the crumbs are evenly moistened. Press the mixture firmly into the bottom of your baking pan to form an even layer. Chill in the fridge while you prepare the filling.
- In a large bowl, beat the softened cream cheese with powdered sugar and vanilla extract until smooth and creamy (about 2-3 minutes). Add the melted chocolate and mix until fully combined.
- In a separate bowl, whip the heavy cream until stiff peaks form. Gently fold the whipped cream into the chocolate cream cheese mixture until smooth and fluffy.
- Spread the chocolate cheesecake filling evenly over the chilled crust. Smooth the top with a spatula for a clean finish.
- Cover the pan with plastic wrap and refrigerate for at least 4 hours or overnight to set.
- Slice into bars and garnish with chocolate shavings or a dusting of cocoa powder before serving.
Notes
[‘Make sure cream cheese is softened to prevent lumps.’, ‘Melt chocolate in short intervals in the microwave to avoid burning.’, ‘Chill bars for at least 4 hours or overnight for best results.’, ‘Press the crust firmly to prevent crumbling.’]
Nutrition
- Serving Size: 1 bar
- Calories: 320
- Fat: 22
- Carbohydrates: 26
- Protein: 4
Keywords: no bake, chocolate cheesecake, dessert bars, easy recipe, creamy cheesecake


