Let me set the scene—the scent of melted peanut butter and chocolate swirling together with that unmistakable Butterfinger aroma, all wafting from my kitchen. It’s one of those smells that makes you instantly hungry, the kind that draws everyone from the next room just to peek at what’s happening on the counter. The first time I tossed together this Butterfinger Puppy Chow, I was honestly blown away. You know that pause you take when something is just… perfect? That was me, hand hovering over the bowl, grinning like a kid at a county fair.
Years ago, when I was knee-high to a grasshopper, Chex Mix was the party snack of choice at every family get-together. But the idea of mixing Butterfinger bars into the classic Puppy Chow was a game-changer. I stumbled upon the combination during a rainy Saturday afternoon, trying to recreate that crunchy, chocolaty treat I remembered from bake sales. Wish I’d thought of this twist ages ago! My family couldn’t stop sneaking bites off the cooling rack (I can’t blame them, honestly). Even my youngest, who’s picky as all get out, gave it a wholehearted thumbs-up.
There’s something about the sweet, salty crunch—pure nostalgic comfort, dangerously easy to make, and perfect for potlucks or just brightening up your Pinterest snack board. Imagine this at your next party: a big bowl of Butterfinger Puppy Chow, disappearing faster than you can say “Chex Mix.” I’ve tested this recipe more times than I care to admit (in the name of research, of course), and it’s now a staple for family gatherings and homemade gifts. It feels like a warm hug in snack form, and honestly, you’re going to want to bookmark this one.
Why You’ll Love This Butterfinger Puppy Chow Recipe
If you’re a Chex Mix lover, this snack will hit the mark and then some. I’m not exaggerating when I say this is the kind of treat you’ll crave after just one bite. Here’s why you’ll want to keep this recipe close at hand:
- Quick & Easy: Comes together in under 20 minutes—perfect for last-minute cravings or surprise guests.
- Simple Ingredients: No wild goose chases at the grocery store; you probably already have most of what you need sitting in your pantry.
- Perfect for Parties: Whether it’s a birthday bash, movie night, or holiday gathering, this Butterfinger Puppy Chow is a total crowd-pleaser.
- Kid-Approved: I’ve seen this disappear at kids’ sleepovers and adults’ game nights alike. The crunch, the chocolate, the peanut butter—it’s a universal hit.
- Unbelievably Delicious: The mix of crispy Chex, buttery chocolate coating, and those bits of Butterfinger creates a snack that’s way more than the sum of its parts.
What sets this recipe apart? I don’t just melt chocolate and toss it with cereal. I blend the peanut butter and Butterfinger bars right into the coating, so every bite has buttery, crispy chocolate goodness. I also use a touch of extra peanut butter for richness—trust me, it’s the trick that makes this version stand out from other Puppy Chow recipes.
This isn’t just another Chex Mix spin-off. It’s a snack that makes people stop mid-conversation and ask, “Wait, what’s in this?” It’s comfort food, but with a little bit of magic thrown in. It’s honestly perfect for impressing guests without spending hours in the kitchen. So if you’re looking for something easy, memorable, and seriously addictive, this Butterfinger Puppy Chow recipe is your new best friend.
Ingredients You Will Need
This recipe uses simple, familiar ingredients to deliver bold flavor and that signature crunchy texture—no kitchen wizardry required! Most are pantry staples, but I’ll give you a few tips for the best results.
- Rice Chex cereal (9 cups/225g): The classic base—super crunchy and perfect for soaking up all that chocolatey goodness.
- Semi-sweet chocolate chips (1 1/2 cups/270g): You can use milk chocolate for a sweeter result, but semi-sweet gives a nice balance.
- Creamy peanut butter (1 cup/250g): For that rich, nutty undertone. I love Jif or Skippy, but any smooth peanut butter works.
- Butterfinger bars (6 regular bars, about 3oz/85g each): Crushed. These add the irresistible crispy bits and extra flavor. (You can use Butterfinger Baking Bits if you find them.)
- Unsalted butter (1/4 cup/56g): Adds richness and helps the chocolate melt smoothly.
- Powdered sugar (2 1/2 cups/300g): For that iconic Puppy Chow coating—don’t skimp!
- Vanilla extract (1 teaspoon/5ml): Just a splash for depth.
- Optional pinch salt (1/8 teaspoon): If your peanut butter isn’t salted, this helps balance the flavors.
Ingredient tips:
- Use fresh Chex cereal for maximum crunch—stale cereal just doesn’t cut it.
- If you want a gluten-free version, double-check your Butterfinger bars (most are gluten-free, but always check the labels).
- Substitute sunflower butter for peanut allergies—no one should miss out on this treat!
- Can’t find Butterfinger bars? Try Heath bars or any crispy, peanut buttery candy.
- Want it dairy-free? Use coconut oil instead of butter, and dairy-free chocolate chips.
- In summer, swap in fresh fruit (like freeze-dried strawberries) for part of the Butterfinger for a tangy twist.
I’ve tried a few brands for each ingredient, and honestly, the classic Chex and Butterfinger bars are hard to beat for texture and taste. But don’t be afraid to play around with what you have—this Puppy Chow is forgiving and always comes out delicious.
Equipment Needed
You won’t need any fancy gadgets for this Butterfinger Puppy Chow recipe—just a few basics. Here’s what I always grab:
- Large mixing bowl: For tossing the Chex and coating. I prefer glass for easy cleanup.
- Microwave-safe bowl: For melting chocolate, peanut butter, and butter. (If you don’t have a microwave, a saucepan on low heat works just fine.)
- Spatula or wooden spoon: For stirring and folding the sticky mixture—use something sturdy!
- Zip-top bags (gallon size): For shaking the Chex with powdered sugar. If you’re out, a big bowl and your hands will do the job (just get ready for powdered sugar everywhere!).
- Measuring cups and spoons: Always helpful for keeping the ratios right.
- Wax paper or parchment paper: For spreading out the finished Puppy Chow to cool—makes cleanup a breeze.
If you’re looking for budget-friendly options, you can use any large bowl or even a big roasting pan for mixing. I’ve tried using a stand mixer once—big mistake! It crushed the Chex to bits. Hand mixing is best for keeping those chunks intact. Pro tip: wash your spatula right after mixing; once the chocolate sets, it’s a pain to scrub off.
Preparation Method

- Measure and prep: Pour 9 cups (225g) Rice Chex cereal into a large mixing bowl. Set aside.
- Crush the Butterfinger bars: Place 6 Butterfinger bars (about 3oz/85g each) in a zip-top bag. Smash with a rolling pin or heavy spoon until you have small chunks (not dust). Reserve about 1/4 cup for topping.
- Melt chocolate, peanut butter, and butter: In a microwave-safe bowl, combine 1 1/2 cups (270g) semi-sweet chocolate chips, 1 cup (250g) creamy peanut butter, and 1/4 cup (56g) unsalted butter. Microwave in 30-second bursts, stirring after each, until smooth (usually 1-2 minutes total). Add 1 teaspoon (5ml) vanilla extract and a pinch of salt (if using). Stir well.
- Mix in Butterfinger: Fold in the crushed Butterfinger bars (except the reserved topping) into the melted chocolate mixture. Stir well so the bits are evenly distributed.
- Combine with Chex: Pour the chocolate-Butterfinger mixture over the Rice Chex. Gently fold with a spatula until all cereal is coated. (If it seems clumpy, keep folding—every piece should be glossy and covered.)
- Coat with powdered sugar: Divide the coated Chex into two large zip-top bags. Add 1 1/4 cups (150g) powdered sugar to each bag. Seal and shake vigorously until all pieces are evenly dusted. (If you don’t have bags, toss everything in a big bowl—just be gentle to avoid crushing.)
- Cool and finish: Spread the Puppy Chow out on wax or parchment paper to cool and set. Sprinkle reserved Butterfinger bits on top for extra flair. Let sit for 15-20 minutes, or until dry to the touch.
- Serve or store: Transfer to a serving bowl or airtight container once cooled.
Preparation Notes:
- If the chocolate mixture seizes or looks grainy, add a tablespoon of butter and microwave for 15 seconds—usually fixes it.
- Cereal breaking apart? Fold gently and use a wide spatula.
- Don’t skip the cooling step—otherwise the Puppy Chow can clump together and get soggy.
- Personal tip: Always reserve a bit of Butterfinger to sprinkle on top. It adds a pop of color and crunch that makes this snack Pinterest-worthy!
Each step is simple, but the trick is patience with folding and coating—rushing leads to uneven flavors. Trust me, slow and steady wins the Puppy Chow race.
Cooking Tips & Techniques
After many batches (some more successful than others), I’ve picked up a few tricks to make your Butterfinger Puppy Chow turn out perfectly every time.
- Don’t overheat the chocolate mixture: Chocolate burns fast. Stick to short microwave bursts and stir often. If you’re melting on the stovetop, use low heat and watch closely.
- Crunch matters: Fresh Chex cereal is key. Once, I used an old box and the final mix was just… meh. Always check your cereal for freshness!
- Gentle folding: Puppy Chow gets mushy if you’re too rough. Use a wide spatula and fold slowly—think “lifting,” not “stirring.”
- Even coating: Don’t dump all the powdered sugar in at once. Shake in batches for the best, fluffiest coating.
- Layer for party trays: If you’re serving for a crowd, layer finished Puppy Chow with extra Butterfinger bits in a big bowl. Looks great and keeps flavors balanced.
Common mistakes? I’ve burned chocolate, crushed cereal to crumbs, and had clumpy Puppy Chow more times than I’d like to admit. Lesson learned: patience and gentle mixing are your friends. Timing is everything—work quickly once you pour the chocolate mixture, but don’t rush the cooling phase. And multitasking? You can crush Butterfinger bars while the chocolate melts, or measure powdered sugar while your Chex gets coated. It’s all about keeping things moving without chaos.
Consistency is the secret for Pinterest-worthy photos and party success. If your Puppy Chow looks a little pale, add a bit more powdered sugar. If it’s too sticky, let it cool longer. And if you want every batch to taste the same, measure carefully—those ratios really matter!
Variations & Adaptations
One of the best things about Puppy Chow is how easy it is to make it your own. Here are some favorite twists and swaps I’ve tried over the years:
- Dietary swap: Use gluten-free Chex and check your Butterfinger bars for gluten-free labeling. Substitute sunflower butter for peanut butter if you have allergies.
- Seasonal spin: In fall, add 1/2 teaspoon pumpkin spice to the melted chocolate mixture. For holidays, toss in red and green M&Ms or drizzle with white chocolate for festive flair.
- Flavor boost: Mix in a handful of mini marshmallows or chopped pretzels for extra texture. Or use dark chocolate chips instead of semi-sweet for a richer bite.
Want to change things up even more? Try baking the coated Chex at 200°F (93°C) for 10 minutes before adding powdered sugar—makes it extra crispy. If you like salty-sweet combos, sprinkle a bit of flaky sea salt on top just before serving.
My personal favorite is adding a handful of roasted peanuts with the Butterfinger bits—gives it a little extra crunch and nutty flavor that’s hard to resist. The possibilities are endless, so don’t be afraid to experiment based on what you love or what’s in your pantry.
Serving & Storage Suggestions
Butterfinger Puppy Chow is best served at room temperature, piled high in a big bowl where everyone can scoop a handful. For parties, I like to portion it into cute paper cups or mason jars—makes it easy for guests to grab and go.
This snack pairs perfectly with cold milk, hot cocoa, or even a strong cup of coffee. If you’re going all out, try serving alongside salty snacks like pretzels or savory Chex Mix for a sweet-and-salty spread.
To store, keep your Puppy Chow in an airtight container at room temperature for up to one week. For longer storage, pop it in the freezer for up to a month—just let it thaw for 10-15 minutes before serving so the texture stays crisp. Reheating isn’t necessary, but if it clumps together, give it a gentle shake in a bag with a little extra powdered sugar to loosen things up.
The flavor actually develops over time, so if you make it a day ahead, you’ll notice the Butterfinger bits get even more pronounced. That’s a win in my book!
Nutritional Information & Benefits
Here’s the scoop: a typical serving (about 1/2 cup, 40g) of Butterfinger Puppy Chow clocks in at roughly 200 calories, 8g fat, 30g carbs, and 2g protein. It’s definitely an indulgence, but hey, life’s about balance!
Peanut butter brings a touch of protein and heart-healthy fats, while Chex cereal offers a gluten-free option for those who need it. If you swap in sunflower butter or use dairy-free chocolate, you can adapt this recipe for common allergies. Always check your candy bars for gluten or nut warnings if you’re serving to a crowd.
From my own wellness perspective, I treat this as a “sometimes” food—great for celebrations and sharing, but not an everyday snack. Still, it’s nice to know you can adjust for dietary needs and still get that classic flavor. If you need lower sugar, cut the powdered sugar by half (it’ll be less coated, but still yummy!).
Conclusion
If you’re looking for a party snack that’s easy, irresistible, and just plain fun, this Butterfinger Puppy Chow recipe is the one to try. It’s got that nostalgic comfort, a creative twist with the Butterfinger bars, and a crunch that never gets old.
Customize it to suit your tastes—swap out ingredients, add a seasonal flair, or throw in some extras. The beauty of Puppy Chow is how forgiving it is! Personally, I love it because it brings people together. There’s always a moment when someone asks for the recipe, and that’s when you know you’ve shared something special.
So go ahead, make a batch, and let me know how it turns out! Share your adaptations in the comments, pin it to your Pinterest board, or tag me if you give it a whirl. Here’s to sweet snacks, happy memories, and kitchen moments worth savoring.
FAQs
Can I make Butterfinger Puppy Chow ahead of time?
Absolutely! It actually tastes better after a few hours as the flavors meld. Store in an airtight container until you’re ready to serve.
What’s the best way to crush Butterfinger bars?
Place them in a zip-top bag and use a rolling pin or the bottom of a glass. You want chunky bits, not powder, for the best texture.
Can I use a different type of cereal?
Yes! Corn Chex or Wheat Chex both work, but Rice Chex is the classic choice for Puppy Chow fans.
Is Butterfinger Puppy Chow gluten-free?
It can be! Just make sure your Chex cereal and Butterfinger bars are gluten-free (check the labels).
How do I keep Puppy Chow from getting soggy?
Let it cool fully after coating and store it in a dry, airtight container. Avoid humidity and always use fresh cereal for maximum crunch.
Pin This Recipe!
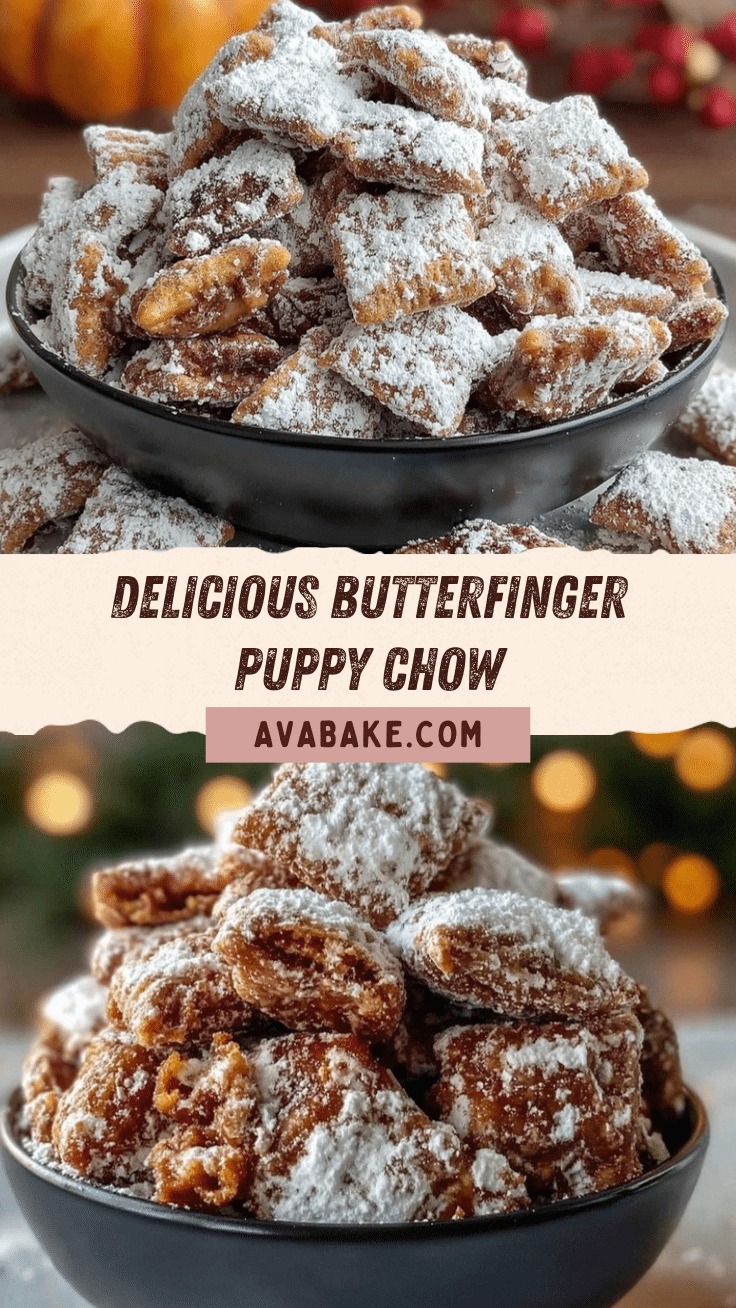
Butterfinger Puppy Chow Recipe: Easy Chex Mix Snack for Parties

This Butterfinger Puppy Chow is a quick, easy, and irresistibly crunchy snack made with Rice Chex, chocolate, peanut butter, and crushed Butterfinger bars. Perfect for parties, potlucks, or homemade gifts, it delivers nostalgic comfort with a creative twist.
- Prep Time: 10 minutes
- Cook Time: 5 minutes
- Total Time: 20 minutes
- Yield: 18 servings 1x
- Category: Snack
- Cuisine: American
Ingredients
- 9 cups Rice Chex cereal
- 1 1/2 cups semi-sweet chocolate chips
- 1 cup creamy peanut butter
- 6 regular Butterfinger bars (about 3oz each), crushed
- 1/4 cup unsalted butter
- 2 1/2 cups powdered sugar
- 1 teaspoon vanilla extract
- 1/8 teaspoon salt (optional, if peanut butter is unsalted)
Instructions
- Pour 9 cups Rice Chex cereal into a large mixing bowl and set aside.
- Place Butterfinger bars in a zip-top bag and crush with a rolling pin or heavy spoon until you have small chunks (reserve about 1/4 cup for topping).
- In a microwave-safe bowl, combine chocolate chips, peanut butter, and butter. Microwave in 30-second bursts, stirring after each, until smooth (1-2 minutes total). Add vanilla extract and salt (if using), then stir well.
- Fold in the crushed Butterfinger bars (except reserved topping) into the melted chocolate mixture and stir until evenly distributed.
- Pour the chocolate-Butterfinger mixture over the Rice Chex. Gently fold with a spatula until all cereal is coated.
- Divide the coated Chex into two large zip-top bags. Add half the powdered sugar to each bag, seal, and shake vigorously until all pieces are evenly dusted.
- Spread the Puppy Chow out on wax or parchment paper to cool and set. Sprinkle reserved Butterfinger bits on top.
- Let sit for 15-20 minutes, or until dry to the touch.
- Transfer to a serving bowl or airtight container once cooled.
Notes
Use fresh Chex cereal for maximum crunch. For gluten-free, check labels on Chex and Butterfinger bars. Substitute sunflower butter for peanut allergies. If chocolate mixture seizes, add a tablespoon of butter and microwave briefly. Let Puppy Chow cool fully to avoid sogginess. Reserve Butterfinger bits for topping for extra crunch and visual appeal.
Nutrition
- Serving Size: About 1/2 cup (40g)
- Calories: 200
- Sugar: 18
- Sodium: 90
- Fat: 8
- Saturated Fat: 3
- Carbohydrates: 30
- Fiber: 1
- Protein: 2
Keywords: Butterfinger Puppy Chow, Chex Mix, party snack, easy dessert, chocolate peanut butter, gluten-free option, kid-friendly, potluck, homemade gift


